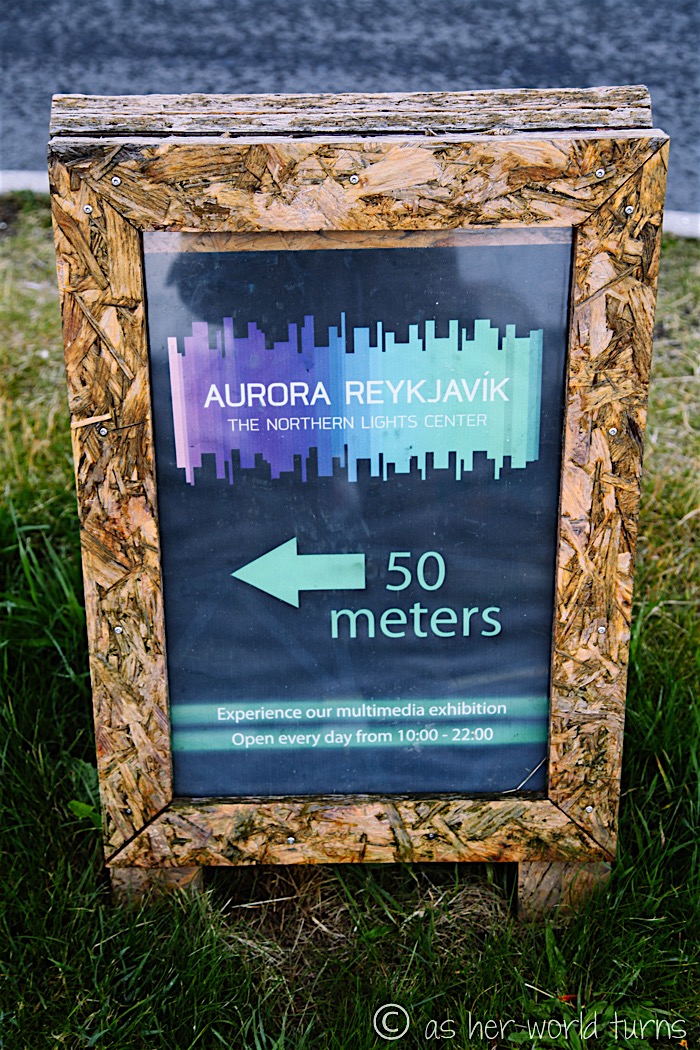
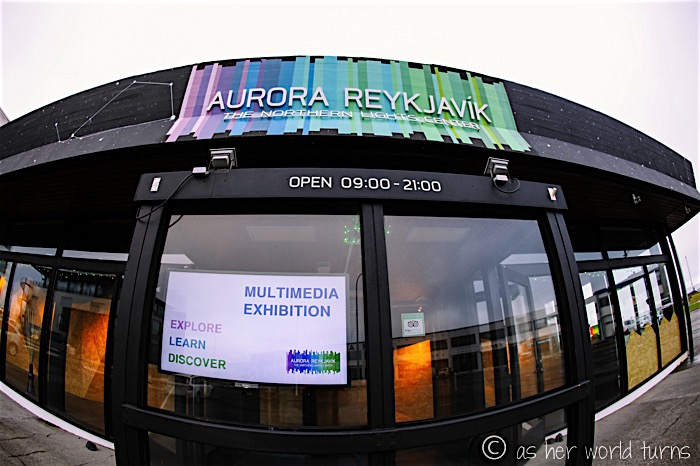
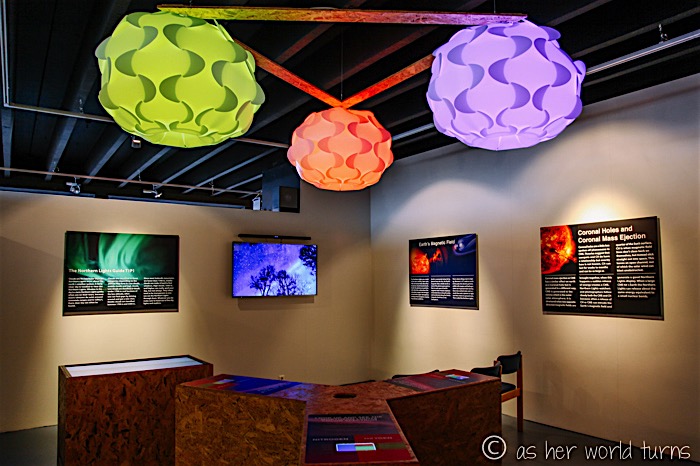
Next week I’ll detail my final full day walking around Reykjavik. But today I want to write in depth about one particular place — Aurora Reykjavik: The Northern Lights Center. I first notice signs for this while walking near the Reykjavik harbor and decide to check it out on a whim. Since I am in Iceland during the summer months, I don’t get to experience the Northern lights in all their glory — although I did get a glimpse of them while soaking at the Myvatn Nature Baths earlier in my road trip. So I figure this exhibit is a good way to learn more about the aurora borealis and the science behind them.
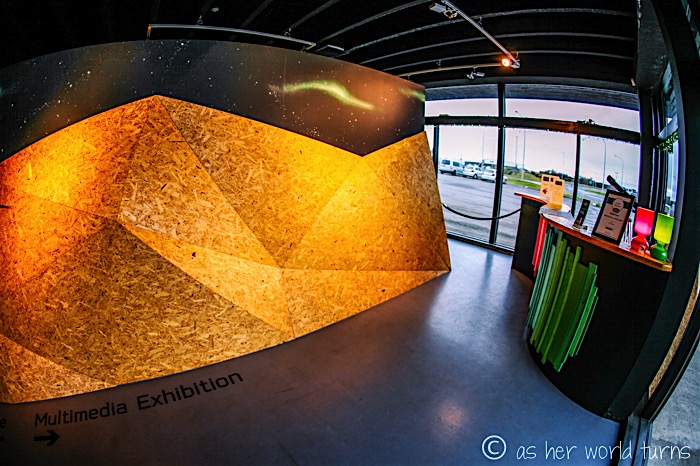
The exhibit costs 1600 ISK (around $12.50 USD) for adults. It takes about 30-45 minutes or so to walk around and read / watch all of the photos, captions, and videos. Some parts are interactive.
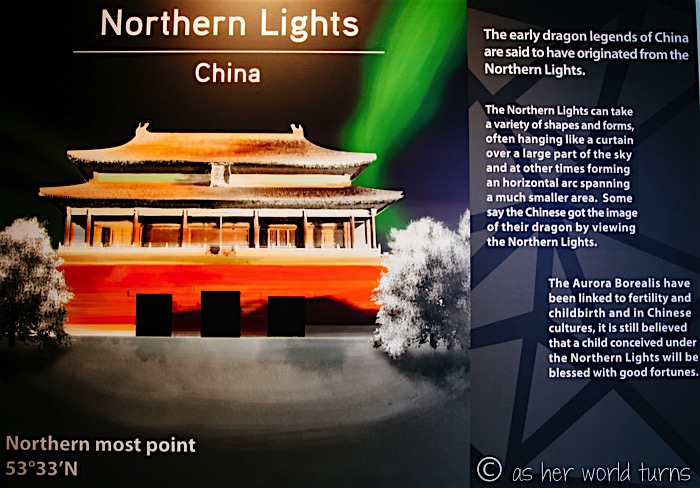
The first section details the folklore that explains the Northern Lights by country. Among the various legends passed down in China, Canada, Russia, Norway, Sweden, Greenland, and Iceland, these are the ones that stand out to me:
– In China, it’s still believed that a child conceived under the Northern Lights will be blessed with good fortune.
– In North America, the Inuit people believed that the Northern Lights were shadows of relatives and friends who had passed away.
– In Sweden, people believed the Northern Lights were rays of the sun striking Herring fish out in the Arctic sea; it was thought to be sign of a good catch.
– In Greenland, they believed that the aurora borealis were spirits of infants who had died young or were stillborn. On a lighter note, an alternative origin story for the Northern Lights is that they are the souls of the dead playing football using the skull of a walrus as the ball.
– In Iceland, there is an old folklore that the Northern Lights would ease the pain of childbirth. At the same time, they believed that pregnant women looking at the aurora would give birth to cross-eyed children.
Let’s talk about the science behind the Northern Lights.
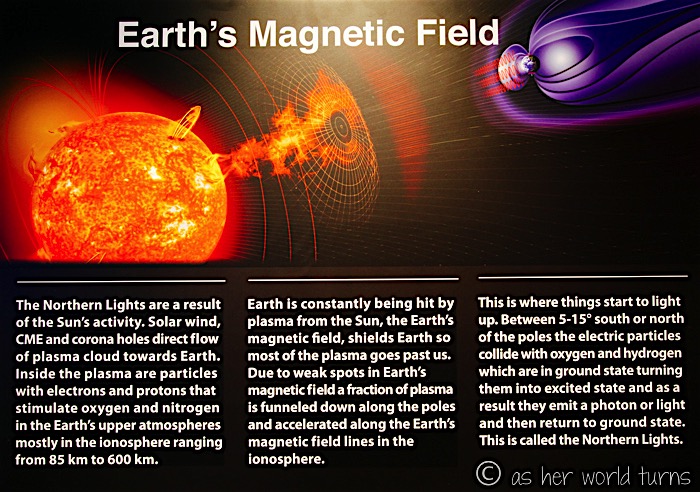
The Northern Lights happen because of several factors that occur on the sun — things like solar wind, sunspots, CME (coronal mass ejection), and coronal holes.
In a nutshell, the solar wind brings charged particles (electrons and protons) in a plasma cloud towards Earth. While the earth is protected by a magnetic field, there are weak spots and sometimes this plasma cloud breaks through and is channeled to the North and South Poles. Its particles stimulate the earth’s upper atmospheres and this reaction emits a photon or light, which is what we call the Northern Lights.
One of the interactive displays:
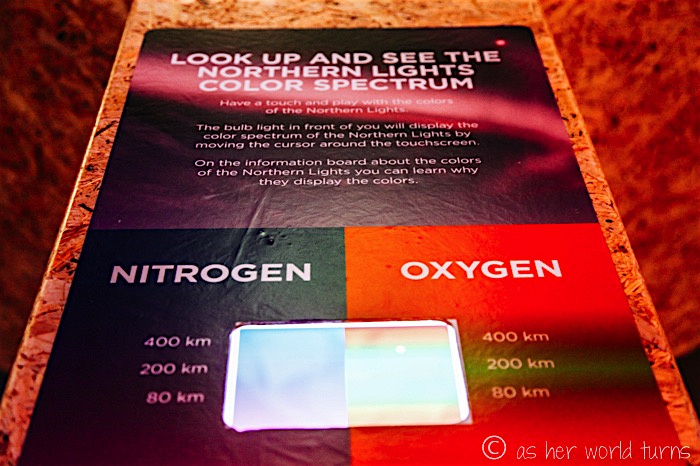
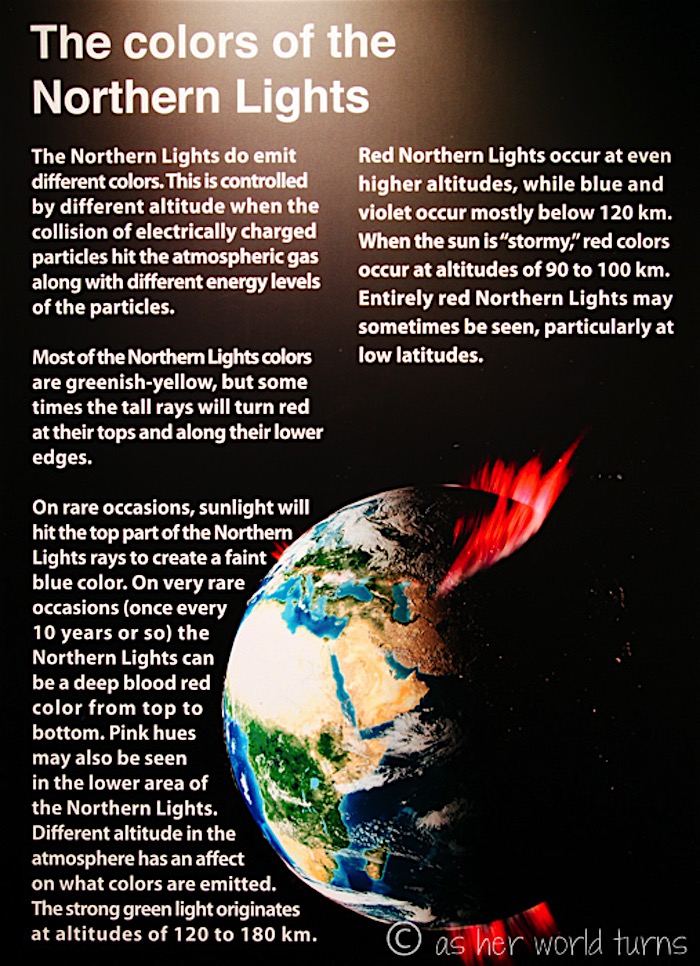
Why do the Northern Lights appear as different colors?
The color depends on the altitude where the collision happens (when the electrically charged particles hit the atmospheric gas). Most of the colors are greenish, but sometimes the top or bottom of the aurora wave will be red. On other occasions colors like blue or bright red can occur.
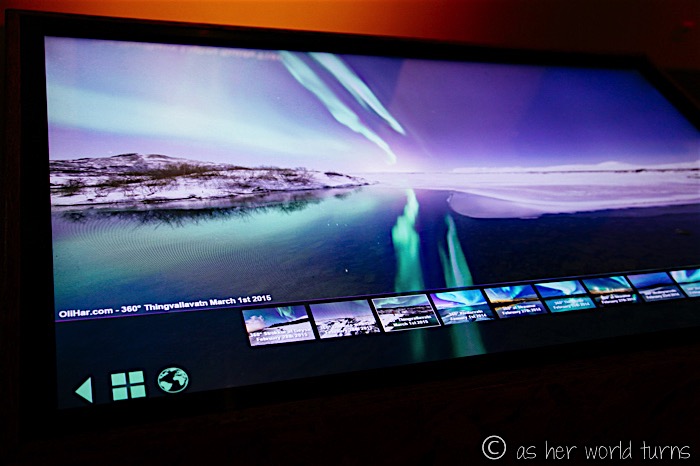
I enjoy swiping through all the photos in this LED display — it’s a beautiful collection of Northern Light photos:
What conditions are needed to see the Northern Lights?
Since the Northern Lights occur above the earth’s weather system, you need a clear sky with no clouds. Head outside of the city to escape light pollution. The best time of year to see the Northern Lights is September through April, and the best time of day is from 21:00-2:00 (11pm to 2am). There are lots of tour companies in Iceland that will shuttle you to designated locations outside of Reykjavik during these hours to increase your chances of seeing the lights.
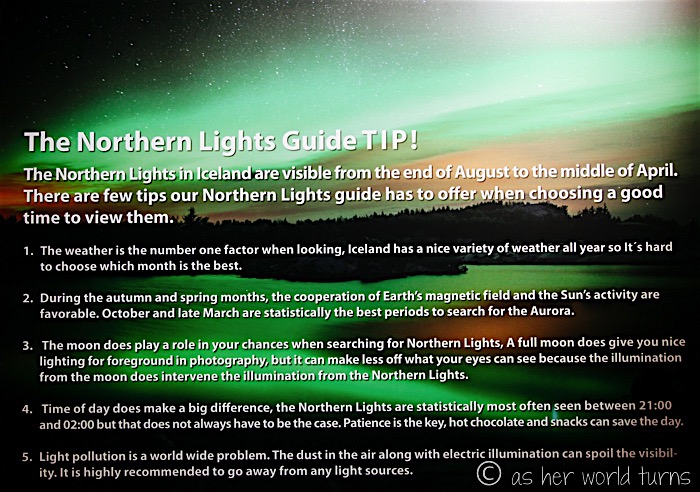
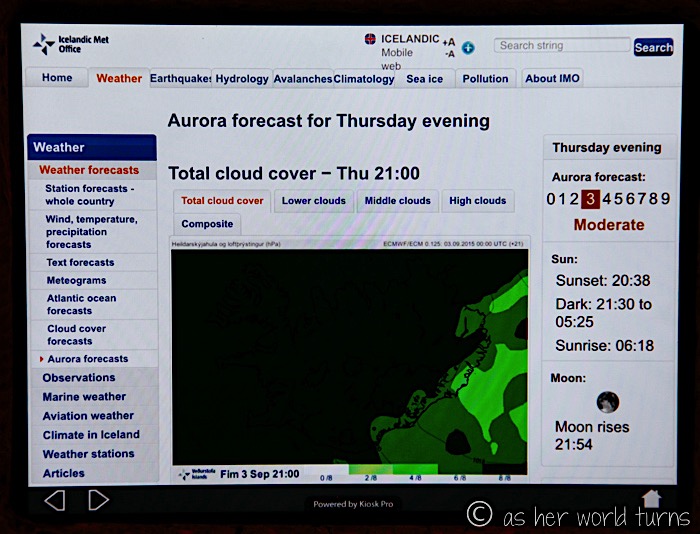
If you are in Iceland for a period of time, check out various Northern Lights forecast websites that will predict your chances of seeing the aurora borealis on any given night. Of course it’s hard to predict this with accuracy, but if you’re here for long enough during the right time of year, your odds are good.
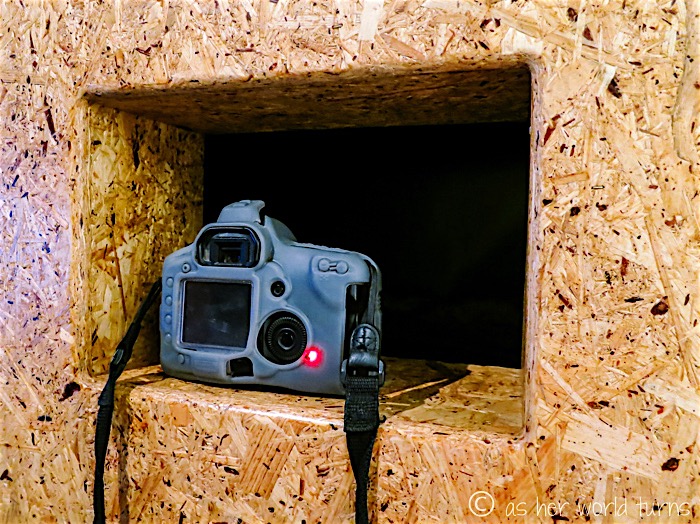
How does one photograph the Northern Lights?
First, use a tripod or steady surface — this will avoid camera blur during long exposure shots. Put your camera in the manual (“M”) mode. Set exposure to 20 seconds, aperture / f-stop to 3.5 or lower, and the ISO to 800. Set the focus to infinity. Adjust these settings as needed to allow for more or less light as you work out the best exposure.
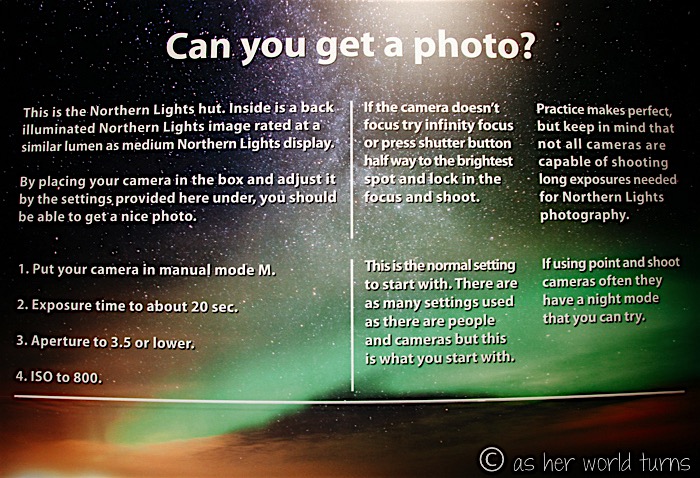
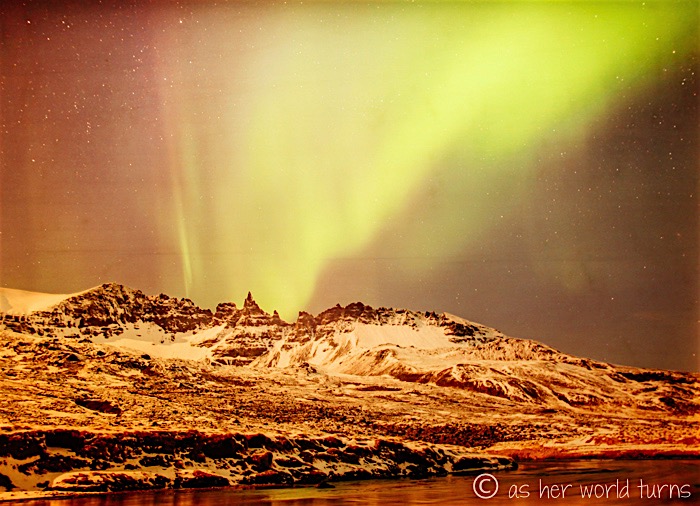
I love this part of the exhibit — there’s a great interactive set-up where you can place your camera on a ledge and play around with its manual settings to get the best exposure of the Northern Lights (via a wall-size photograph in that dark space below).
Here’s how my shot comes out when I use the suggested camera settings:
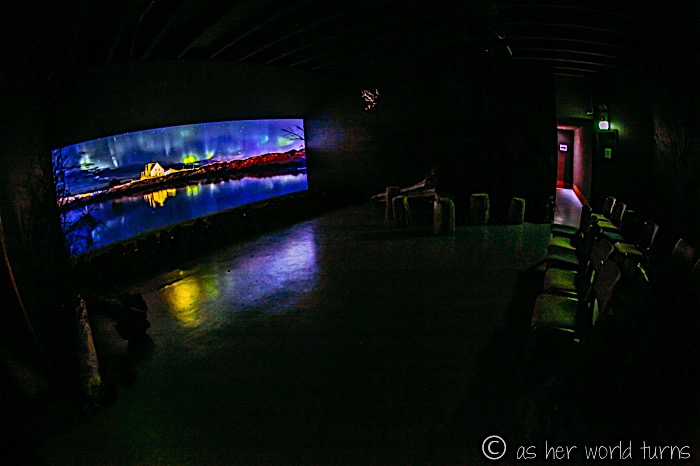
Another part of the exhibit that I love is this looping video of gorgeous aurora photography throughout Iceland.
The gift shop:

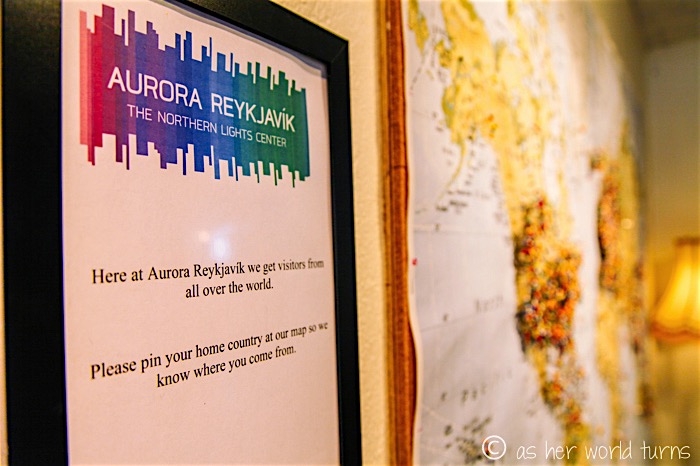
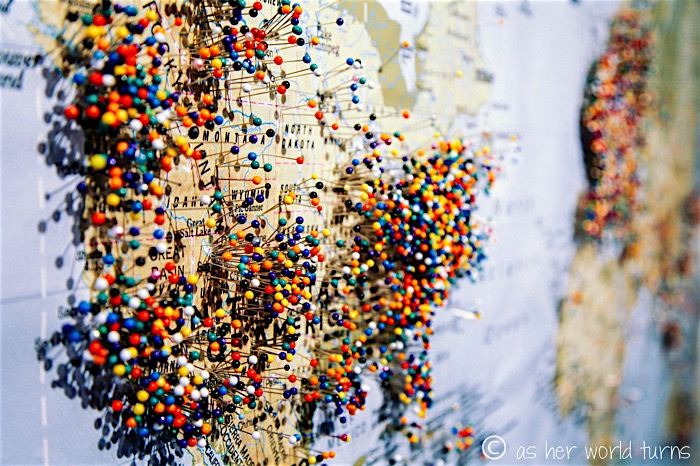
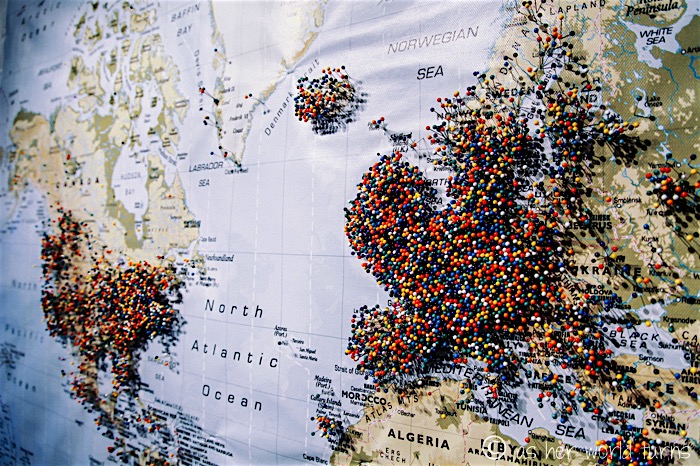
As I exit the exhibit, I notice this wall map with push pins for visitors to mark their home country. What a nice touch:
Since I can’t get a full Northern Lights experience at this time of year (late August), then this aurora exhibit eases the pain a bit. I appreciate learning more about the science behind the lights as well as the legends and folklore across various cultures. And the interactive camera set up is especially neat. If you’re interested in checking it out, here is the website of the Northern Lights Center.