Namaste!
It’s how everyone greets each other in Nepal, and it brings a smile to my face every time I exchange this word with a passerby. It seems a fitting way to greet you, dear reader, in this first post recapping my Everest adventure.
FYI … for an overview of my entire Everest experience — including my preparation (or lack thereof), buying supplies, packing, and hiring a guide/porter — check out this post.
The journey begins, as most do, at an airport.
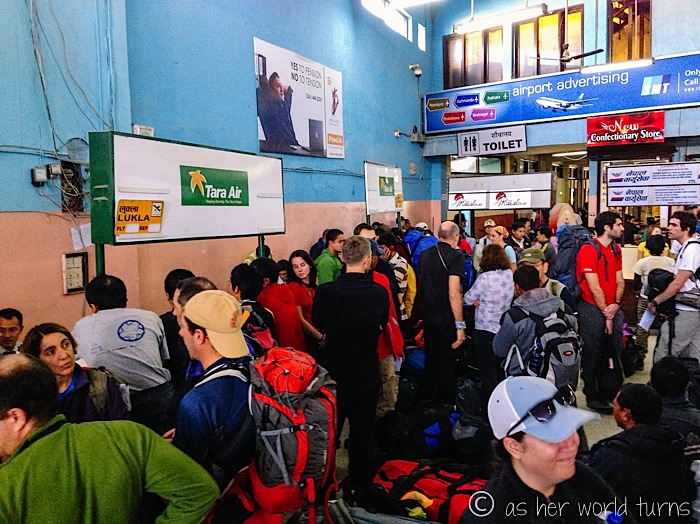
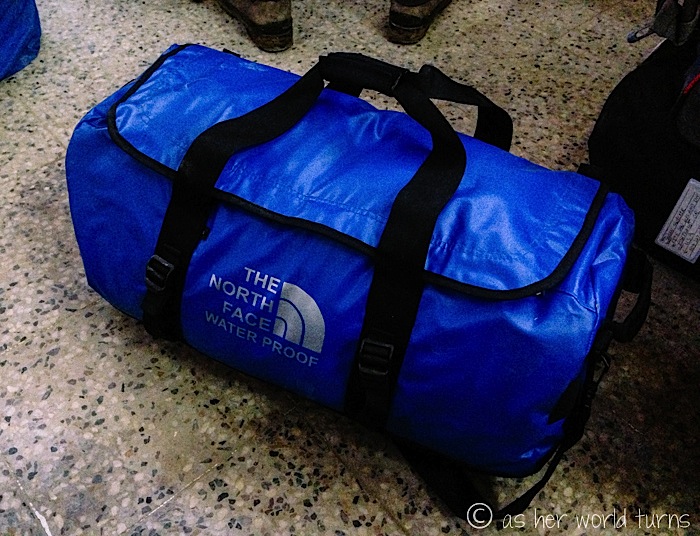
The Kathmandu domestic terminal happens to be the most chaotic airport I’ve ever had the displeasure of experiencing. Allow me to walk you through it: there are no lines or queue, just a mob of passengers. The flight number and departure time on your ticket mean nothing. Once you press forward to the desk, each passenger is assigned a group number. When they call that number — perhaps hours later than your scheduled departure time — it’s a cue to drop off your bag. Mine is a few kilos overweight and they charge me the equivalent of $5 USD. I’ve never been so happy to fork over five bucks and make that problem go away.
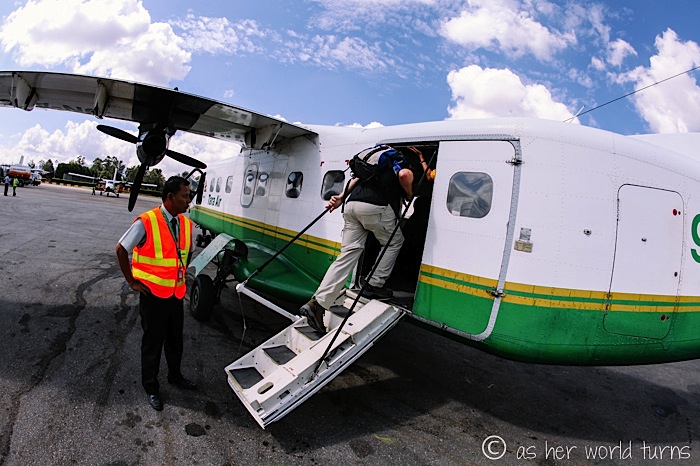
Next up is security and then more waiting in the (equally crowded) departures terminal. Once they call your group number, you’ll line up to get on a bus, which will take you to the aircraft. We wait on the bus about 20 minutes before they let us board the tiny plane.
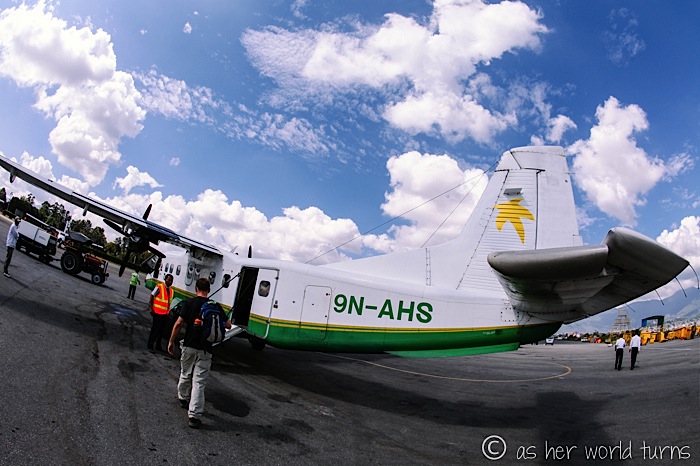
Throughout this whole process — literally since I first pushed my way to the ticketing counter hours earlier — I’ve been angling for the front of the line because I’ve read how important it is to get a good seat on the plane to see the Himalayas en route to Lukla. Turns out the only time it pays to hustle is picking your seat on the bus, as the order you hop off is the order you’ll board the plane. Luckily I’m sitting in the front of the bus.
The Himalayas will be on the left side of the plane during our flight to Lukla. (On the way back to Kathmandu, sit on the right side for more mountain views.) On-line tips suggest either the front or back of the plane so that the wings don’t get in the way.
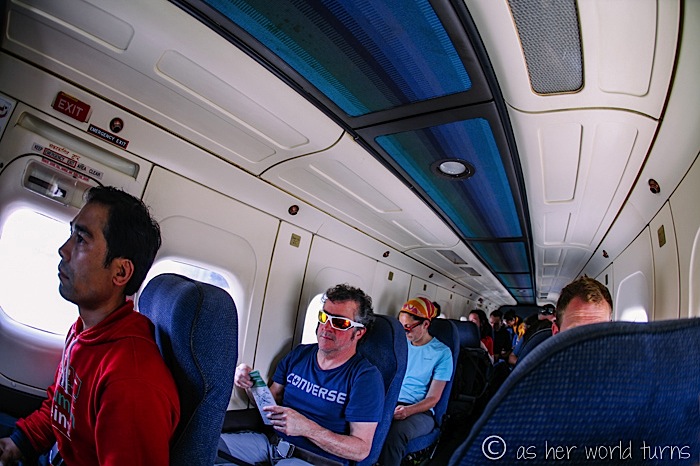
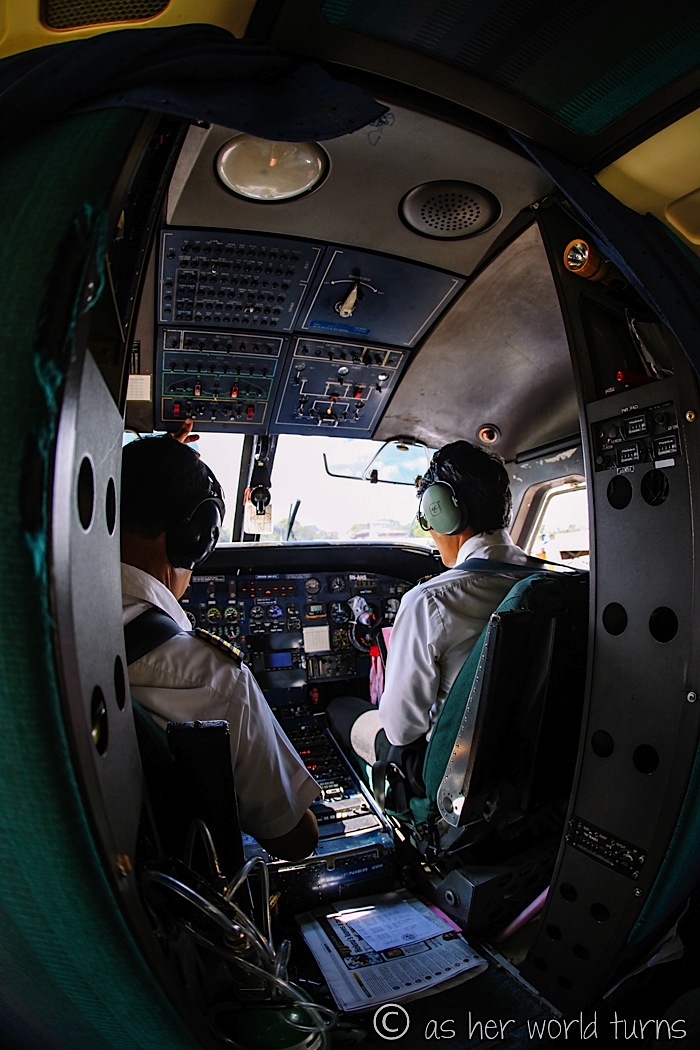
On my flight, there are seven seats on each side of the plane. I grab the very first seat behind the pilot for a bird’s eye view.
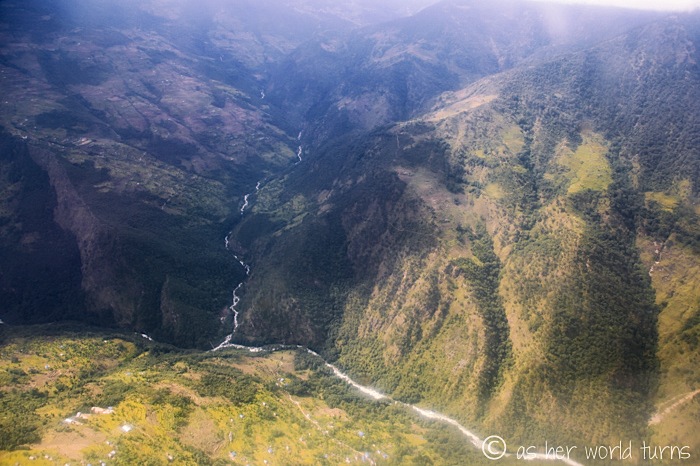
And after all that worrying about a good seat, it turns out the windows are dirty and scratched up. Plus clouds obscure our mountain views today. This is the best shot I get, of the rifts, valleys, and rivers below.
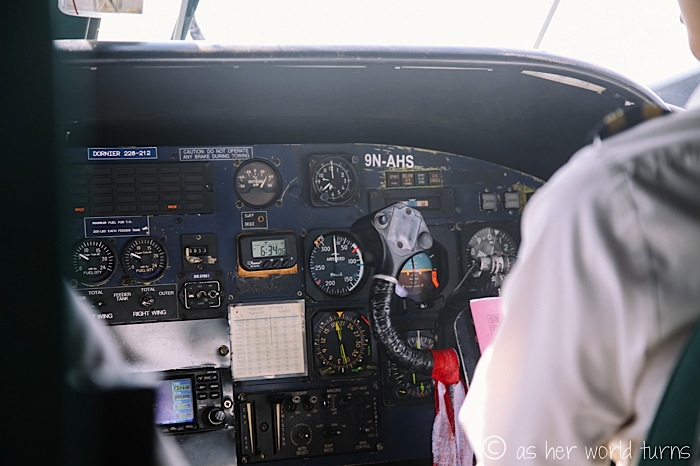
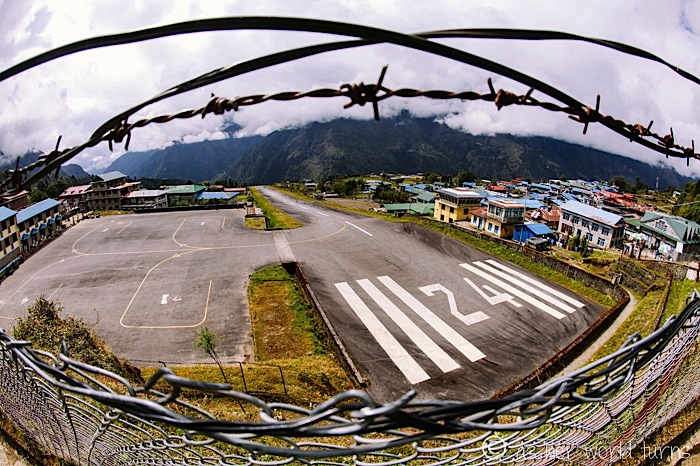
But since I’m directly behind the pilot, I have a great view of our landing… which is a big deal because Lukla happens to be the most dangerous airport to land at in the whole world. The runway is 430 meters long and the tiny planes that land here require a runway of 900 meters. I’m no mathematician, but those numbers don’t equal a successful landing, right?
Turns out the engineers who designed this runway use gravity to help stop the plane. One end of the runway is 60 meters higher than the other end, so the plane glides uphill and loses steam as the pilot slams on the brakes.

Here’s a video of our landing:
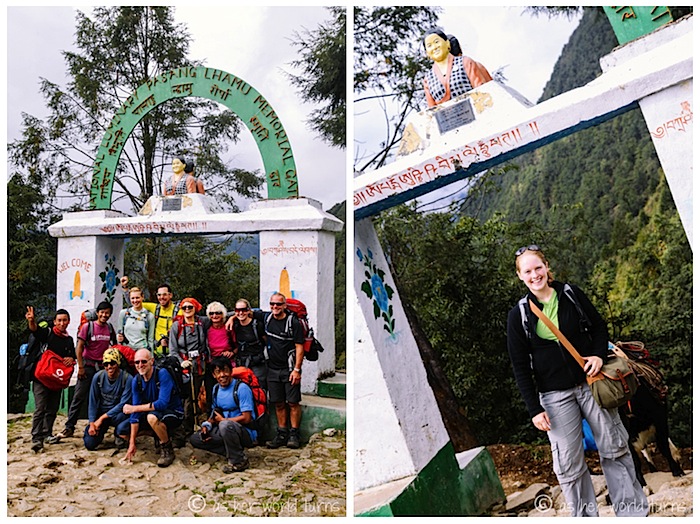
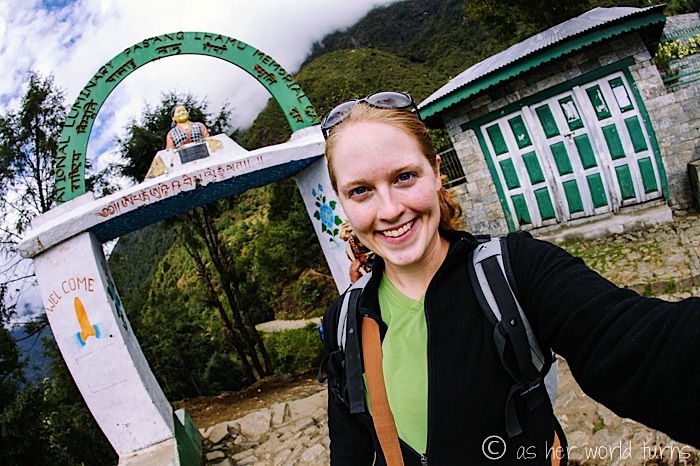
There are no cars in Lukla and the trail to Everest Base Camp begins near the airport. I grab my bag and walk about 5-10 minutes to Paradise Lodge, the designated meeting point for my guide / porter.
To recap: the night before my departure, I walked into an agency in Kathmandu to inquire about hiring the services of a guide / porter — one person who will both carry my bag AND guide my trek. I originally planned to hire one of the qualified men who wait outside the Lukla airport, as this way I could meet them in person first rather than hiring someone sight unseen through an agency. But when I realize it’s too late in the day to apply for my TIMS card at the local permit office in Kathmandu, I figure the only way to get it last-minute is by going through an agency. Turns out I most likely would have been fine getting the TIMS card in Lukla, but oh well — it brings me some peace of mind to have it all settled prior to my arrival in Lukla. I’m paying $22 per day for a 12 day trek, or a total of $264 plus tip. The agency unfortunately takes a giant cut of this — nearly half — so the local guides / porters really don’t make much.
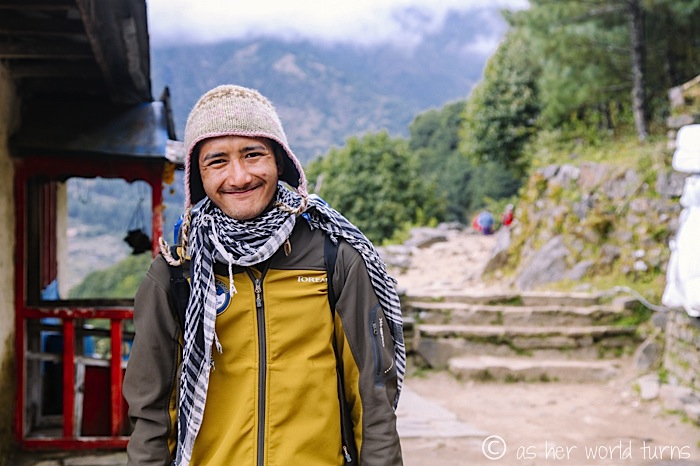
My guide / porter is named Mingma and he’s very young, around 18 years old. His English is lacking and I don’t find out until five days later that he’s actually just a placeholder guide until his older brother (also called Mingma, around age 30) returns from another trek and takes over in Dingboche. Since no one at the agency warned me of this, I’m rather surprised on day 5 when the news comes that I have a new guide. But the older Mingma has great English skills and is a very experienced trekking leader, so once he’s on the job I learn more background and cultural stuff about the trail that I perhaps should’ve gotten from the beginning. Regardless, young Mingma does a fine job carrying my bag and leading us in the right direction those first five days, so I have no complaints.
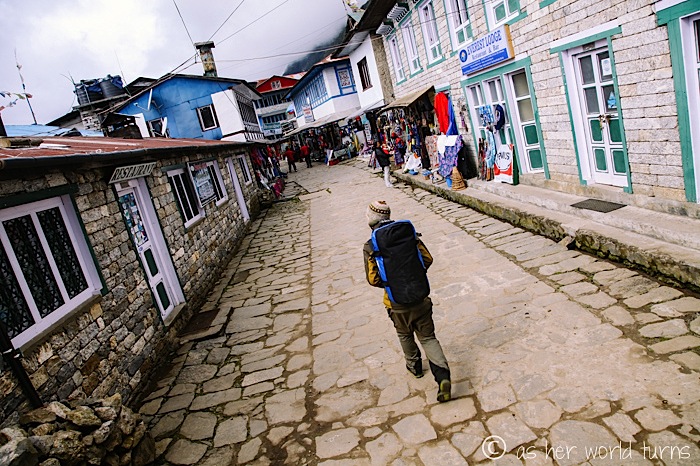
As we walk through the village of Lukla to start the trek, I spot the iconic Starbucks logo. Turns out it is not an official location, just a knock-off. If Starbucks wants to deliver a cease and desist letter — as they considered doing when Dumb Starbucks opened in Los Angeles last February, a stunt move by a Canadian comedy show — they’ll first have to land at the world’s most dangerous airport.

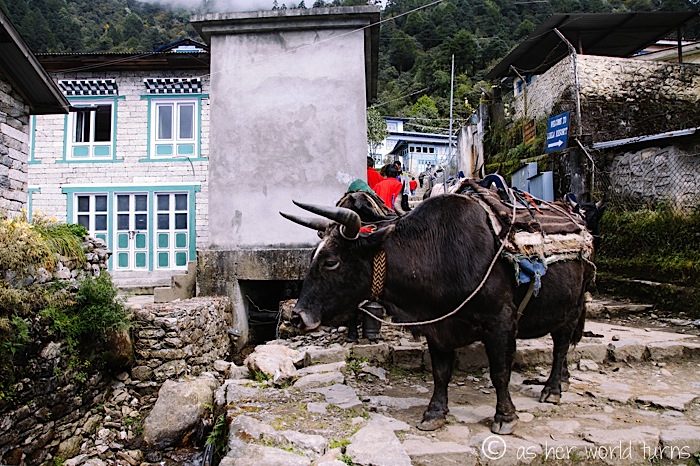
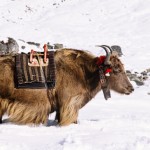
This is the first of hundreds of yaks I encounter on this trek.
Here’s the official start of the trail, just beyond the village of Lukla:
Here is my first guide / porter, the younger Mingma. True story: when we stop at his parents’ house so he can swap out my duffel bag for a backpack with more support, I briefly contemplate (but not really) asking his mom what his options are. Not that being a porter is looked down upon, it’s just that I see this young man’s potential and want him to realize it.
And we’re off! Today we’re only hiking a few hours to Phakding. It’s an easy first day. Here’s a look back at cloudy Lukla:
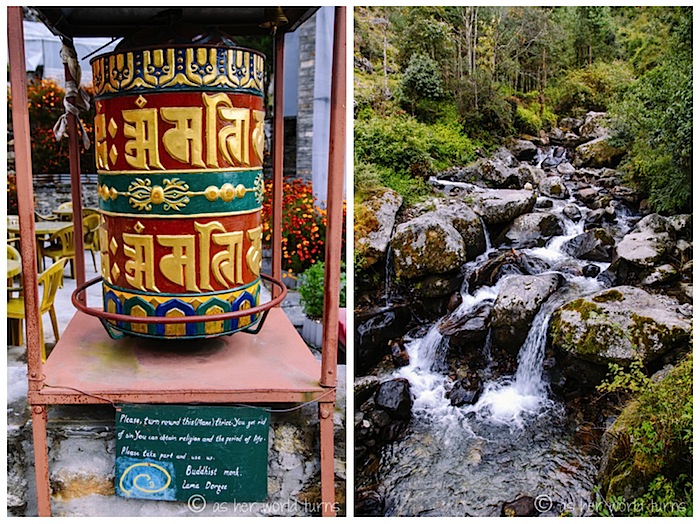
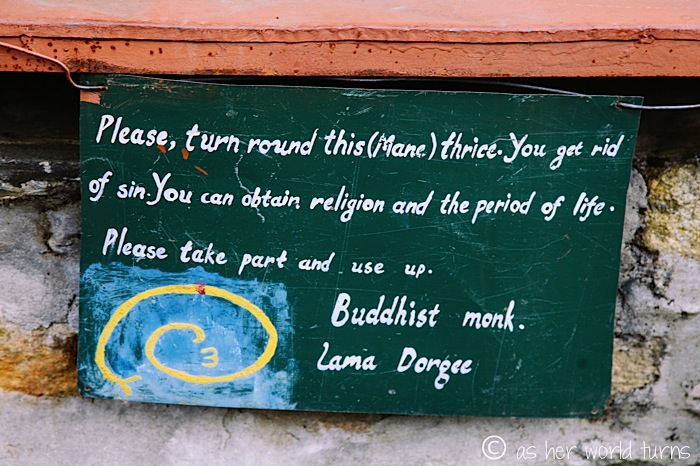
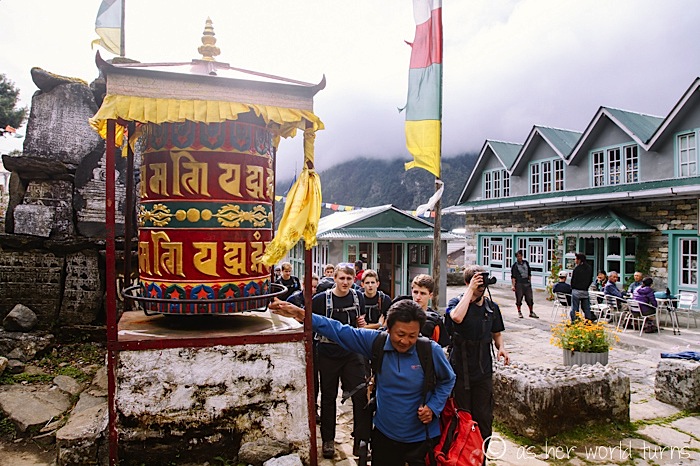
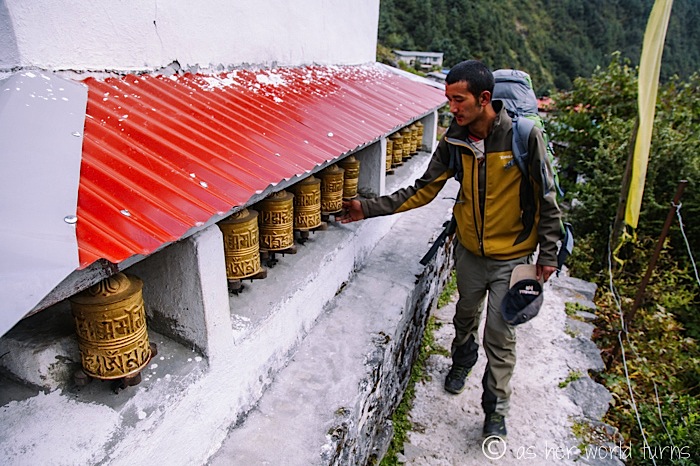
This is a prayer wheel (similar to the ones I saw at Swayambhunath in Kathmandu last week).
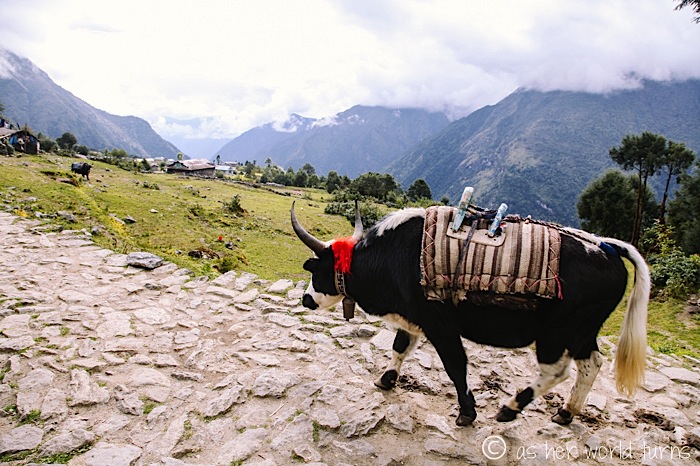
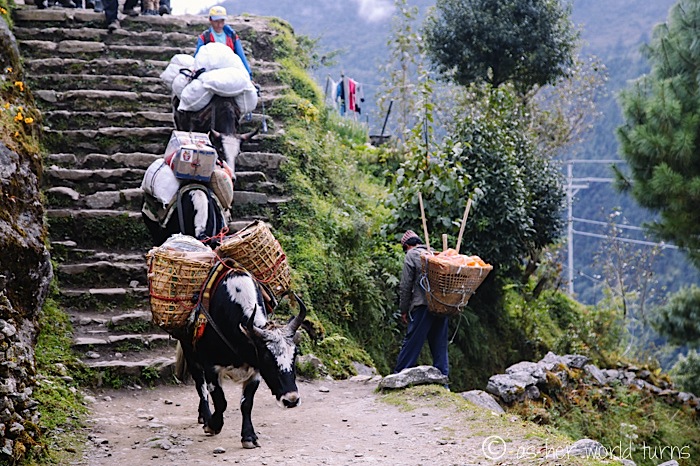
A few words about the ‘yak train’… these animals transport goods up the mountain. Their backs are weighed down with bundles and they are a constant presence on the trail. Bells around their necks make noise so hikers can hear them approaching. Trail etiquette dictates that we move to the inside of the path and wait for the yaks to pass by before continuing. They poop everywhere. And it makes me so mad when their human escorts hit or whip these creatures to keep them moving.
As I huff and puff my way along the trail, the distant din of yak bells prompts one thought on a loop: Must stay ahead of the yak train… must stay ahead of the yak train…

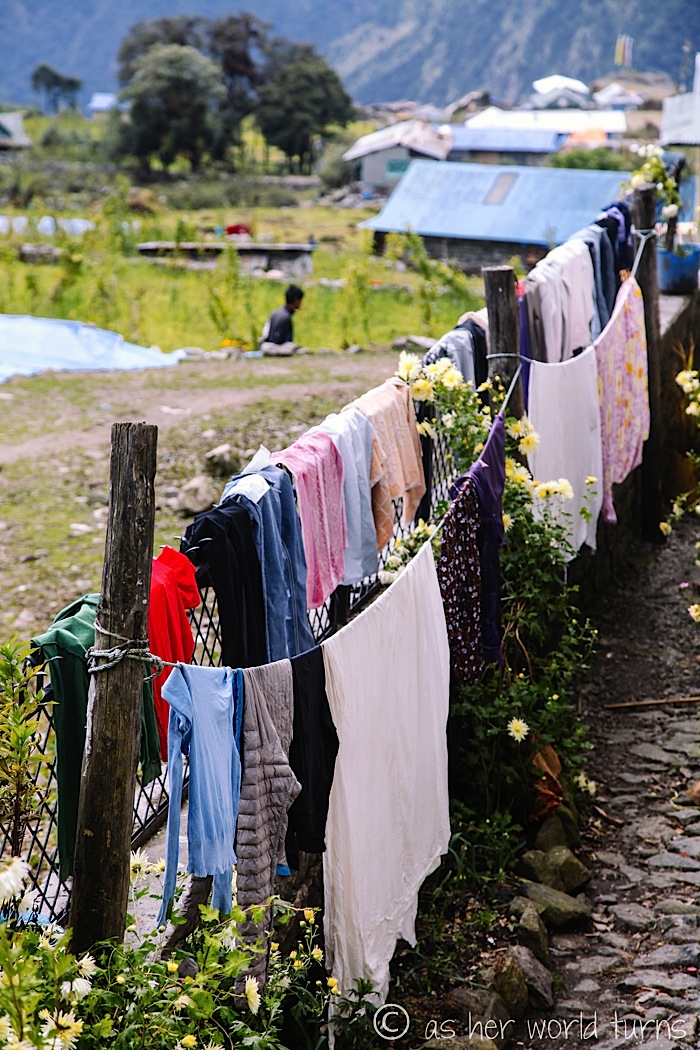
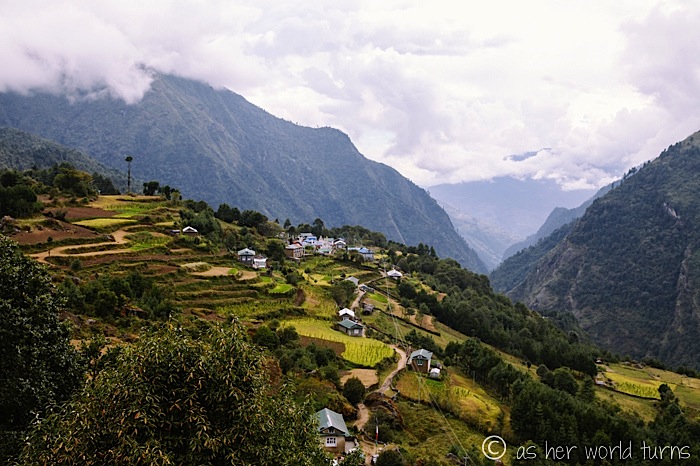
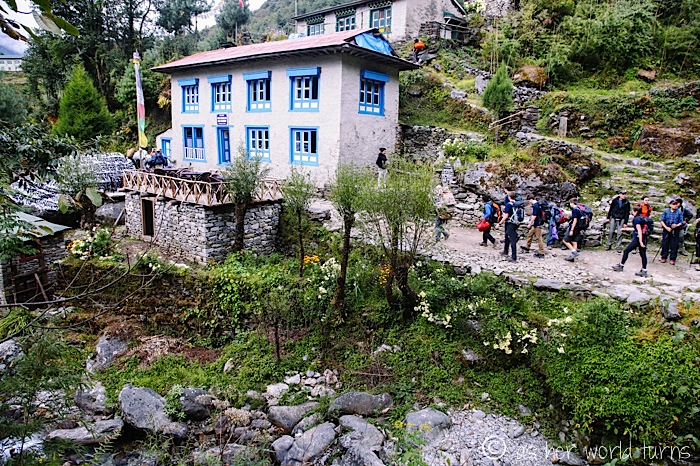
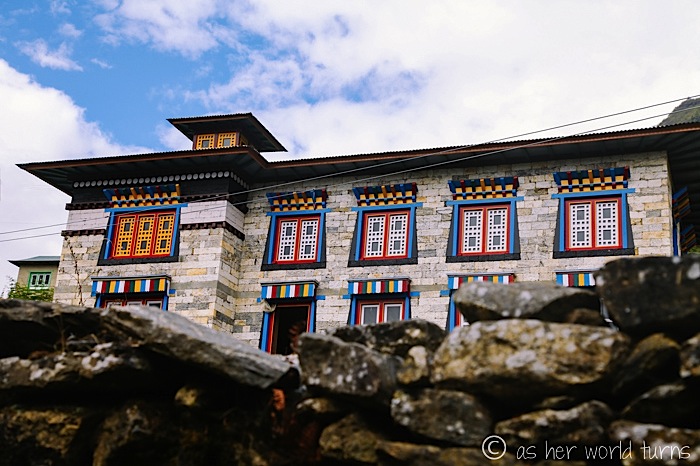
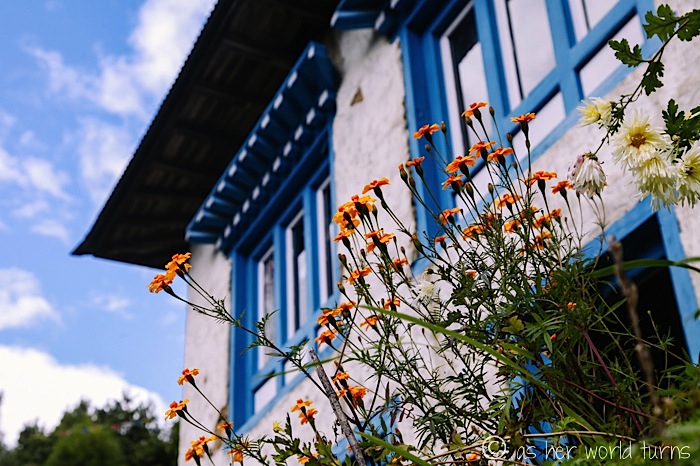
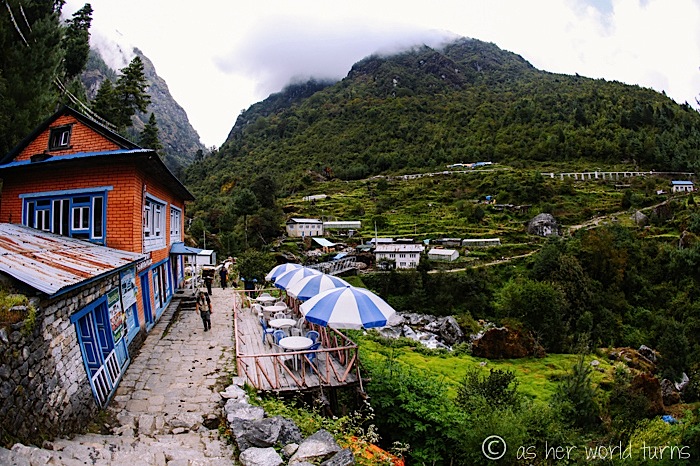
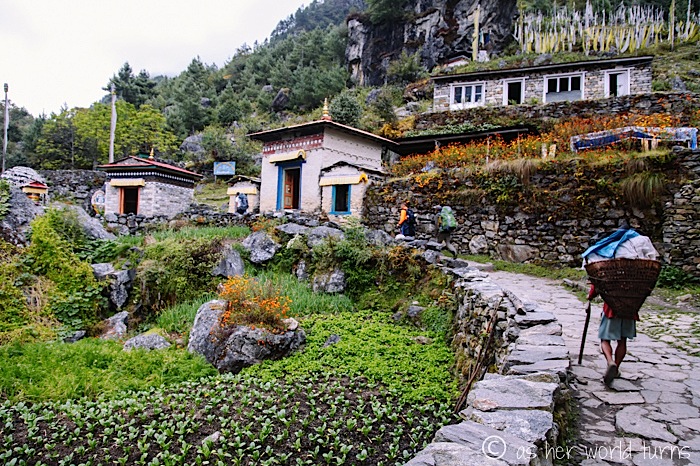
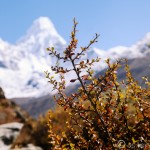
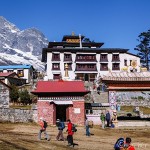
Colorful touches abound as we pass through one of many villages along the trail — flowers, houses, prayer flags and prayer wheels… even hikers’ bold-colored backpacks add flair.
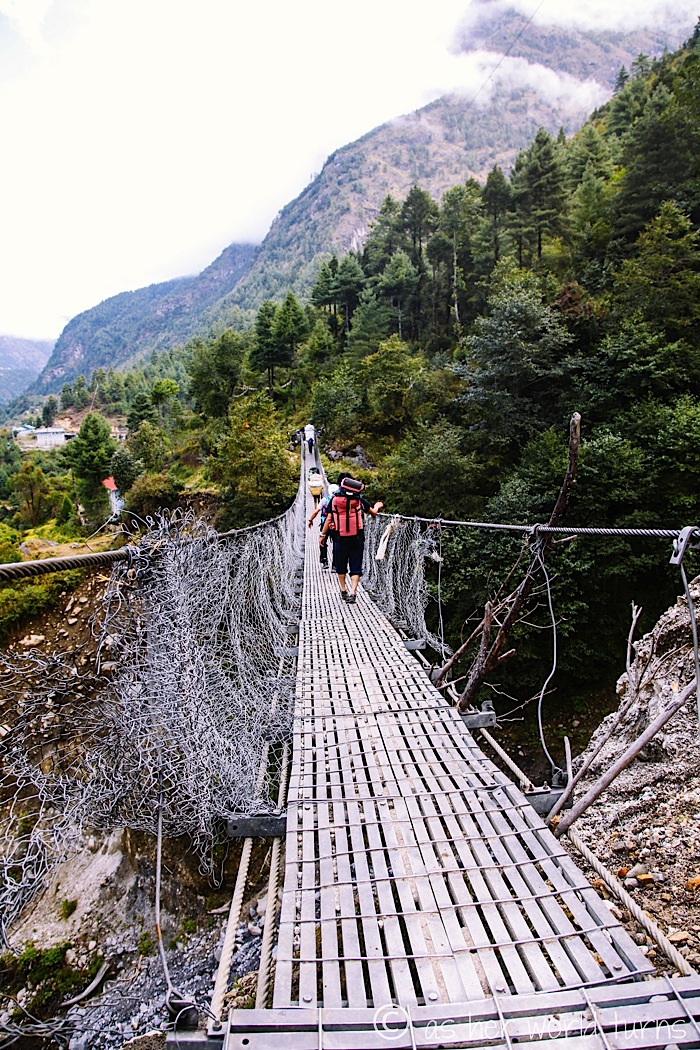
Not long into this stretch of trail, we approach our first suspension bridge. There are maybe 20 of various lengths throughout the trek to Base Camp. They aren’t scary, but if you have issues with heights this might not be your favorite part of the trail.
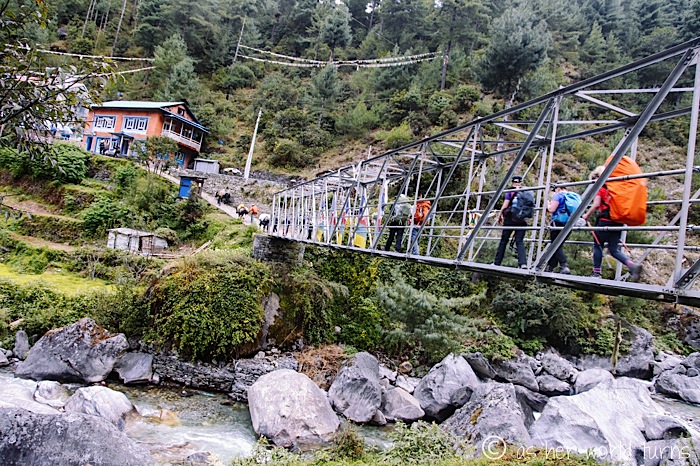
A shorter (and sturdier) bridge:
Side note: one thing I notice today that continues throughout the trek is that men spit (often) and pee (sometimes) on the trail. It’s frustrating to be in such a beautiful place and witness that.
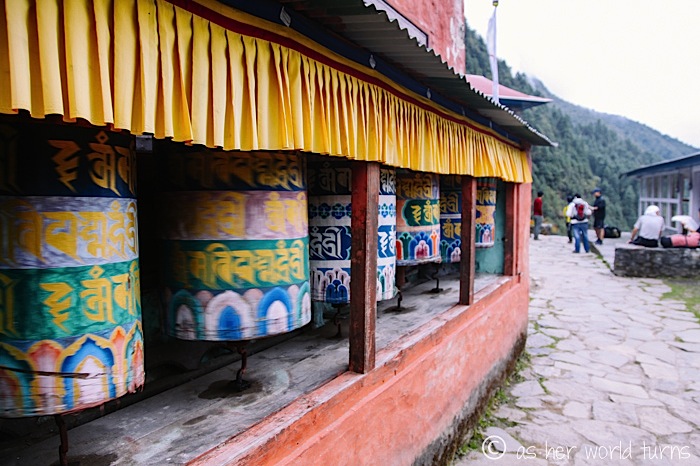
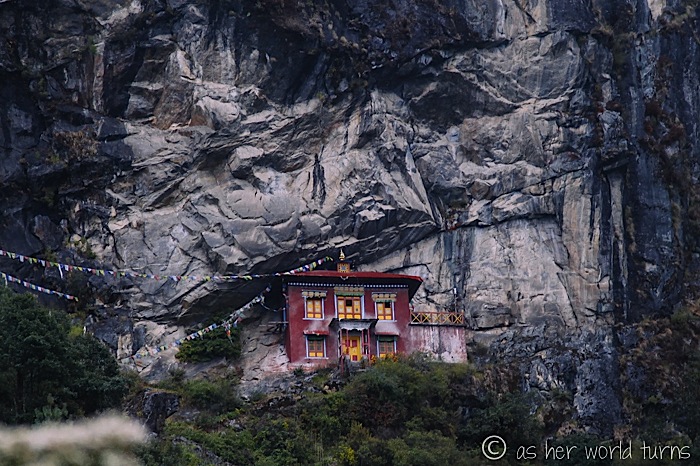
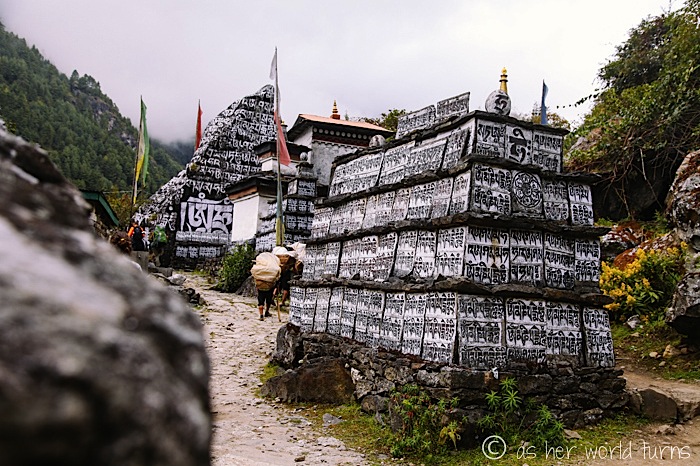
I am regularly impressed by the multicolored prayer flags, prayer wheels, and Buddhist Mani stones (seen below). There are so many cultural details found along the trail.
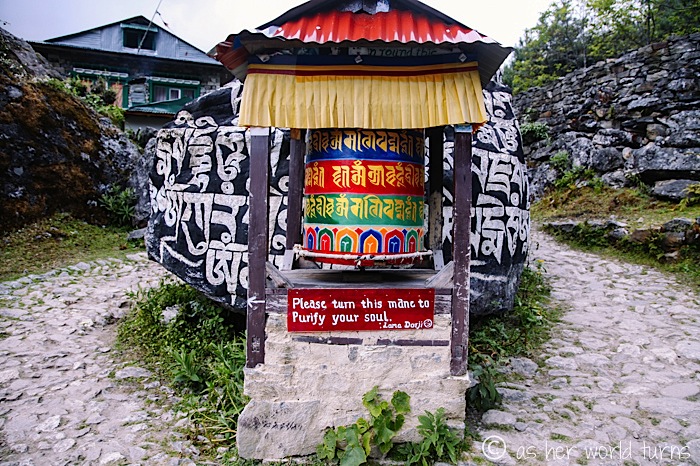
Young Mingma purifies his soul by turning these prayer wheels:

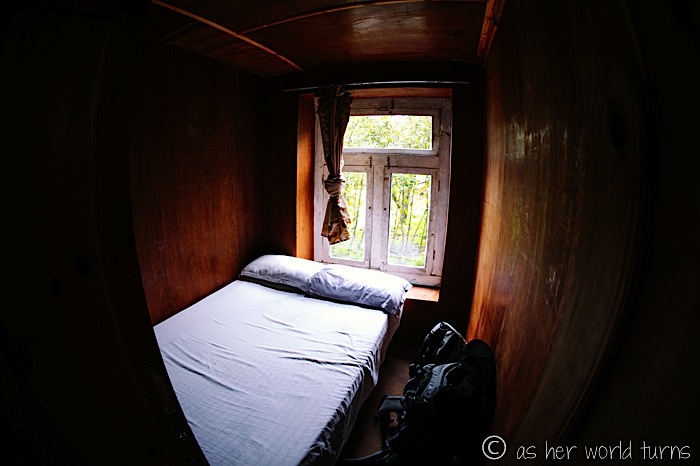
Three hours after setting off from Lukla, we arrive at our accommodation in Phakding: a tea house called Shangri-la (altitude 2600 meters // 8,500 feet). My single room costs $1.50 USD per night, and doubles are $2.50. There is a shared toilet down the hall. Hot showers cost an extra $2.50. There’s a stack of extra blankets available free of charge.
For the record, I shower twice on the entire 12-day trek… on day 3 and day 11, both times in Namche Bazaar. Everyone smells so just embrace it! Most trekkers use baby wipes for a makeshift shower each night.
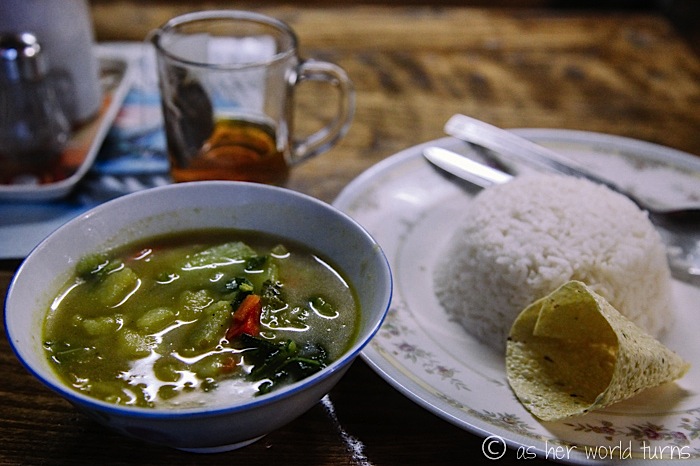
I order veggie curry with rice for dinner, along with hot tea. I was up very late packing the night before and can already feel the beginnings of a cold in my throat. I’ve been using lozenges all day.
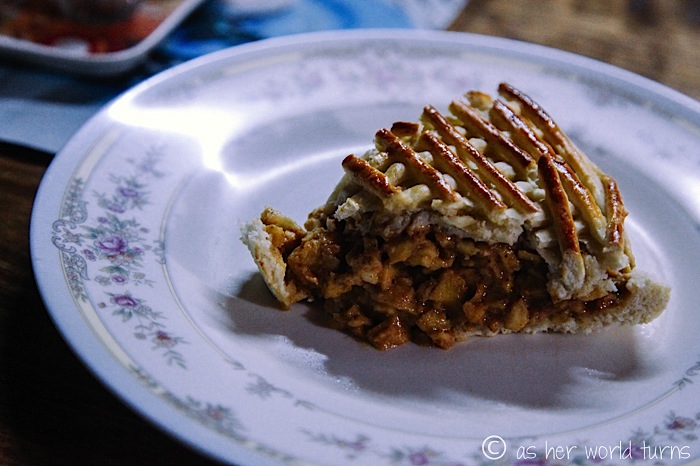
I order a slice of apple pie for dessert. You might be surprised to learn this is a local favorite in Nepal — all of the bakeries make it here. You can have apple pie every night on the trek if you so desire. From now on, I’ll stop associating this treat exclusively with American culture.
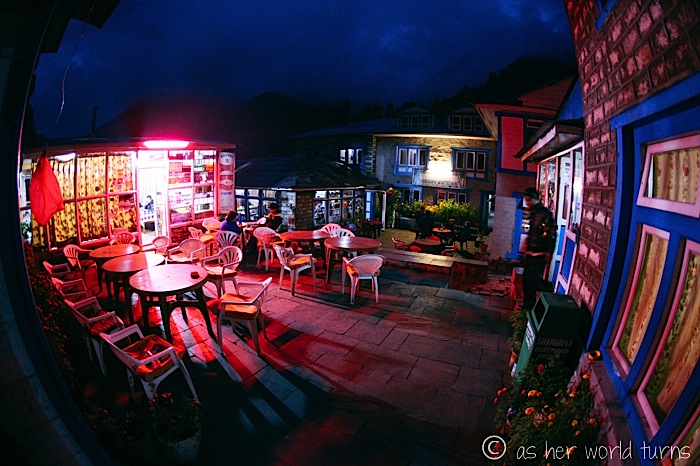
The patio at Shangri-la tea house:
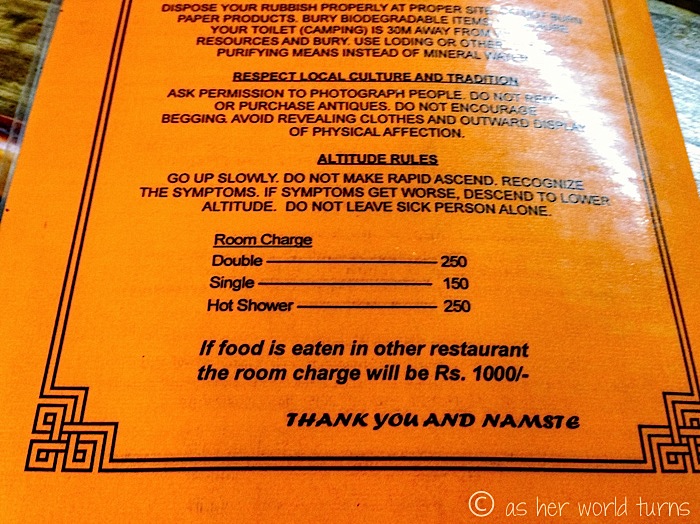
A word of warning — every tea house I visit along the trek requires their guests to eat meals at the in-house restaurant. I wish my guide mentioned this right off the bat, as sometimes the only warning is on the back of the menu. Like the one below: “If food is eaten in other restaurant, the room charge will be 1000 Nepalese Rupees,” which is $10 instead of $1.50 for my single room. Glad I see this before it’s too late! The only village where I resent this rule is Namche Bazaar, because there are so many other restaurants available. Everywhere else I’d probably pick the tea house restaurant anyway just out of convenience.
Also, the guide acts as a waiter. He writes my order in a ledger and I’ll pay for everything — the room and all meals, drinks — upon checkout in the morning.
After dinner, I head right to bed even though it’s only 7pm. I swallow two Ibprofin PM pills and curl up in my sleeping bag for a full night’s sleep. I wake up eleven hours later feeling much better.
Day 2 recap coming tomorrow!

Loving this recap! Reminds me of trekking in Tibet AND definitely fuels my desire to see Nepal and head out on a long trek. Thanks!
Thank you! Wow, I bet your Tibet experience was equally mind-blowing. The Himalayas are out of this world! I’d love to see them from Bhutan someday but the visa is expensive.
I loved this whole post! It was so interesting – from the airport craziness and short runway, to the landscape in town. Very cool and different!
Thank you, Molly! Many more posts like it are coming this week 🙂 I loved writing the Everest recaps — I kept a hand-written journal so it was easier to remember little details.
I just stumbled upon your amazing blog!!! I am trekking to BC in May of this year
I haven’t read though all of your trip blog yet
Any little tips you could give me to make my trip more memorable or comfortable?
Hi Christine, thank you for the kind words. My best tip is to take Ibprofin regularly throughout the entire trek. I was not taking Diamox for altitude, so Ibprofin was a lifesaver — it thinned my blood (making it easier for my heart to pump) and alleviated muscle cramps and headaches. Another tip is to put your camera batteries in the bottom of your sleeping bag at night — that will keep them warmer / make them last longer so you don’t have to recharge as often at the tea houses. Finally — wear lots of layers so you can take some off / put some back on as the temperature changes throughout the day. Good luck with your trip!