Last month, my sister and I flew to Moshi, Tanzania to climb Mt. Kilimanjaro. (Spoiler alert: we reached the summit!)
In due time I’ll recap our entire Kilimanjaro journey over several posts, but in the mean time here is an overview of the trek. I’m thrilled to share these images of our adventure.
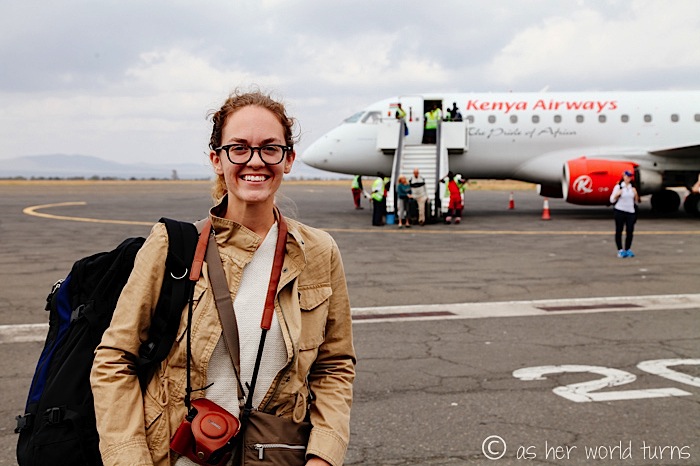
Here’s my sister Bethany as we disembark from the plane in Moshi.
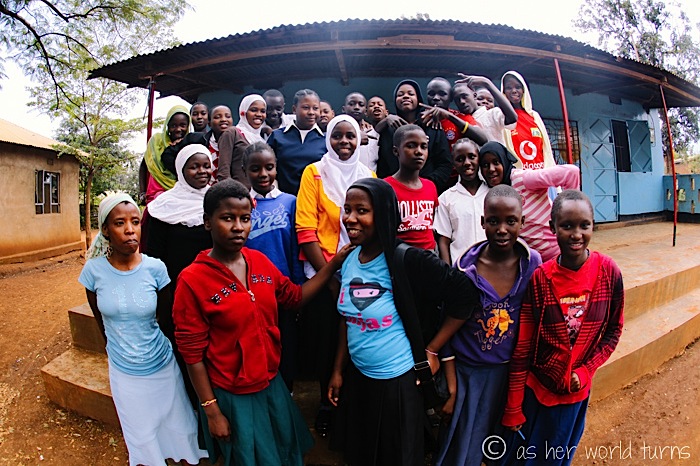
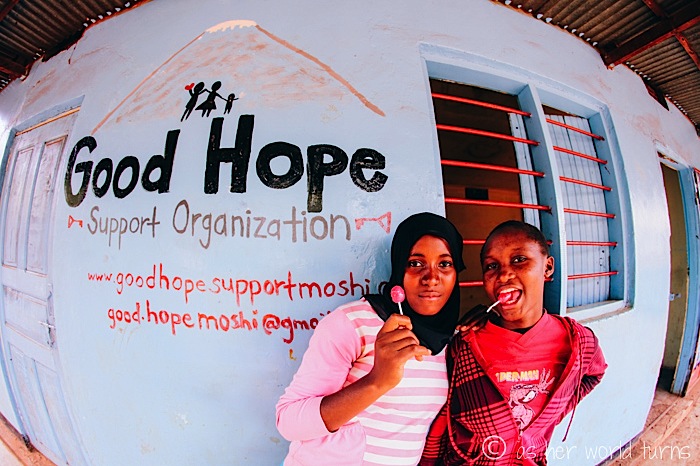
We spend our first afternoon visiting a nearby school where a friend-of-a-friend is volunteering for six months. (Shout-out to my Young & Restless co-worker Nancy for introducing me to the extraordinary Jen!) I’ll share more about this in another post but suffice it to say this is the warmest greeting any visitor could receive — an entire classroom of smiling faces welcomes us with introductions, music, and dancing.
The next morning Bethany and I depart Moshi to begin climbing. Here’s some background on our trek —
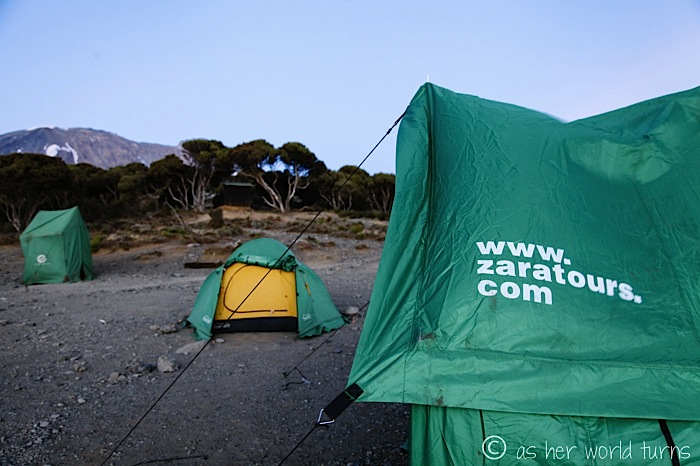
We’ve picked Zara Tours because a friend from high school had a successful experience with them in the past and highly recommended them. Sure enough, they are top-notch and several major travel companies outsource their Kili tours to Zara. So we cut out the middle man and booked directly with them. Communication was great in the months leading up to our trek as they patiently answered all my questions. We’ve been paired with one of their top guides, Bruce — the same guide our friend used several years ago and raved about.
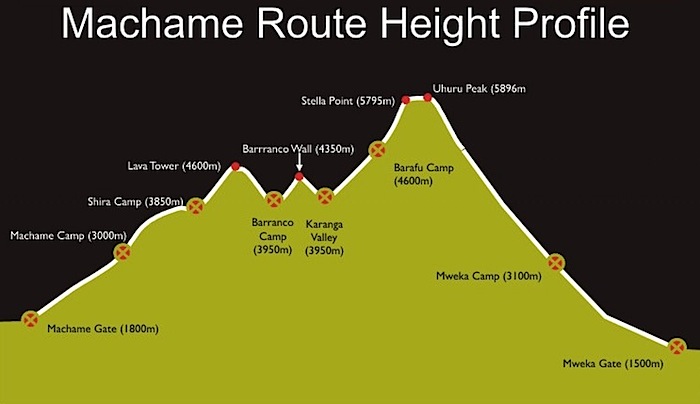
We chose the Machame Route, which is the second most popular trail (there are about six routes to the top). The Marangu Route is the busiest because it can be done in as little as 5 days and trekkers sleep in huts along the way instead of camping… but there’s a downside, as this trail has a poor acclimatization profile and about a 40% success rate of reaching the summit. The Machame Route we picked is typically done in six days but we decided to stretch it to seven, to give ourselves an extra acclimatization day and increase our odds of getting to the top. It worked — and I really don’t know if we would’ve made it all the way up this route in just six days.
Here’s our trekking itinerary:
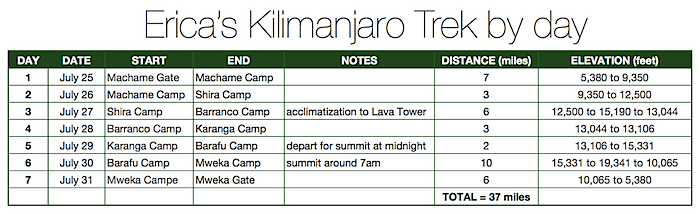
DAY 1 — Easy climb through the jungle for about 5 hours to camp at 10,000 feet elevation
DAY 2 — Another 5 hour climb with tough uphill sections to camp at 12,400 feet
DAY 3 — Eight hours’ acclimatization hike up to Lava Tower then back down to camp at 13,000 feet
DAY 4 — Four hours up the challenging Baranco Wall and beyond to camp at 13,750 feet
DAY 5 — Only 3 hours to Base Camp at 15,200 feet… then sleep until midnight
DAY 6 — Start hiking at midnight for about 7 hours to the summit at 19,340 feet and then make a 3 hour descent back to Base Camp for a quick nap, then hike 4 hours further down to camp at 11,000 feet
DAY 7 — Hike the final 3 hours down to 3,000 feet elevation and catch a 45-minute ride back to Moshi
If you do this hike in six days, they combine days 4 & 5 so that you hike all 7 hours on day 4… and then wake up at midnight for the summit bid. That itinerary compresses the hardest parts of the trail into two days and cuts back on sleep time for the hikers. I suspect I would’ve been too maxed out to reach the top if I’d attempted this.
Here’s what the elevation profile looks like:
 [image via]
And here’s a day-by-day look at our trek:
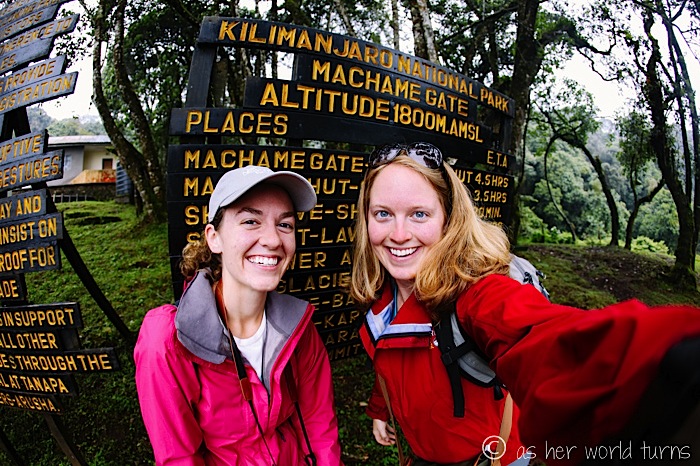
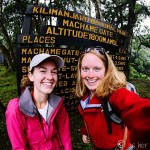
 But back to day 1. Here’s my sister and I at the starting point for the Machame Route:
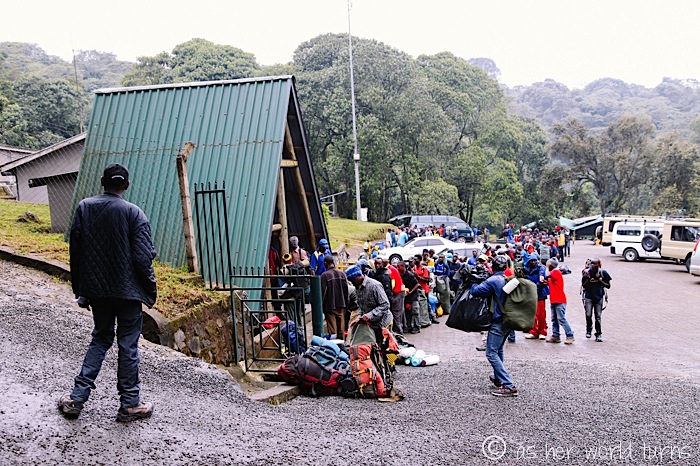
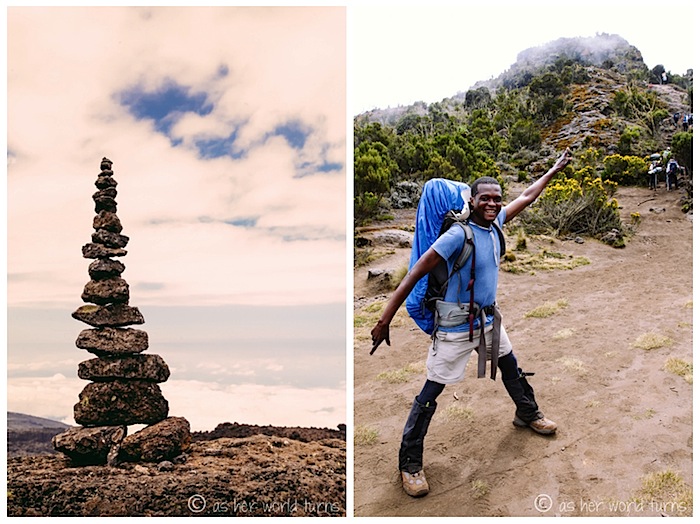
Porters gather to weigh their packs at the entrance, as the National Park monitors how much each person is allowed to carry. This takes about two hours and we have to wait until everything is settled before we can begin. While we are a party of two — just my sister and me — regulations stipulate that we need seven porters. In addition to our packs, they carry all the food and equipment for the whole group (which also includes a guide, assistant guide, and cook). We literally have a team of people supporting us on this climb.
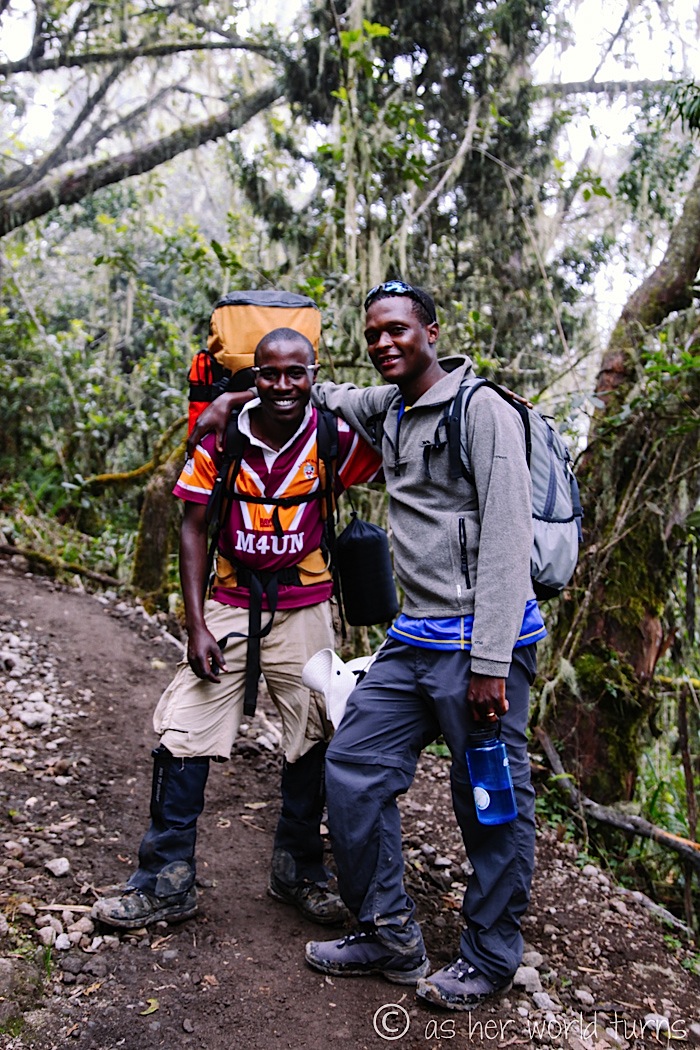
This is our lead guide Bruce (right) and assistant guide Thomas (left):
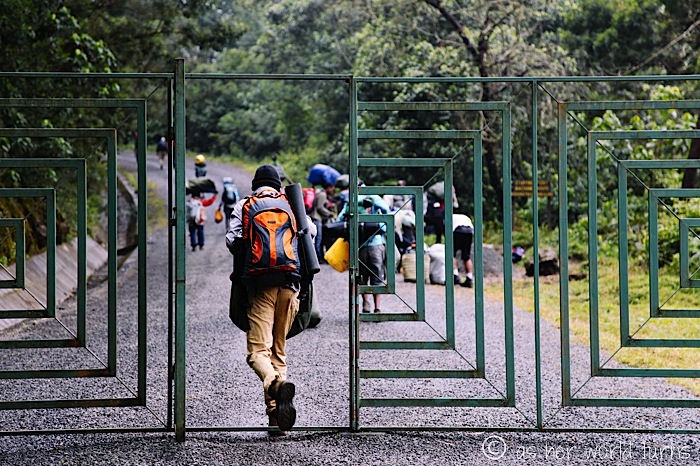
We pass through this gate and officially start our trek.
TIP: Bring a legit water bottle and not just the plastic kind they sell water in. Those have recently been banned so I had to hide mine at a few checkpoints and when we entered campgrounds, which was a pain. I didn’t see anything about this on-line beforehand so I wanted to include it here.
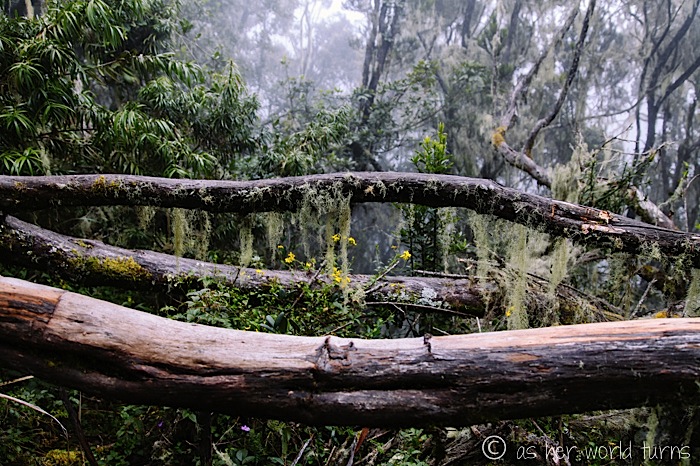
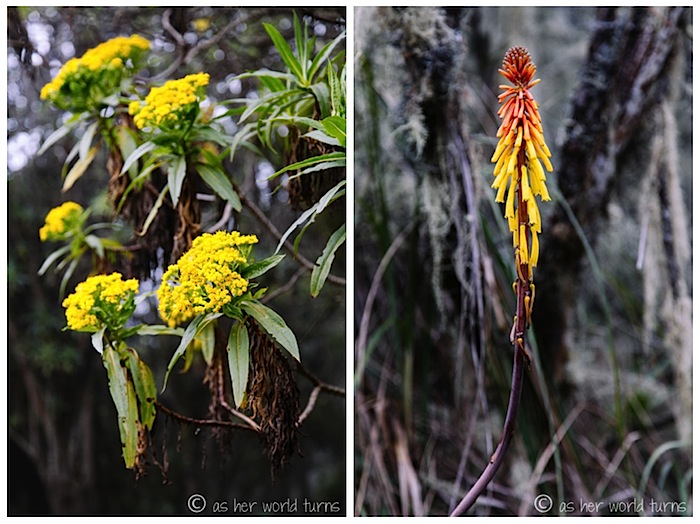
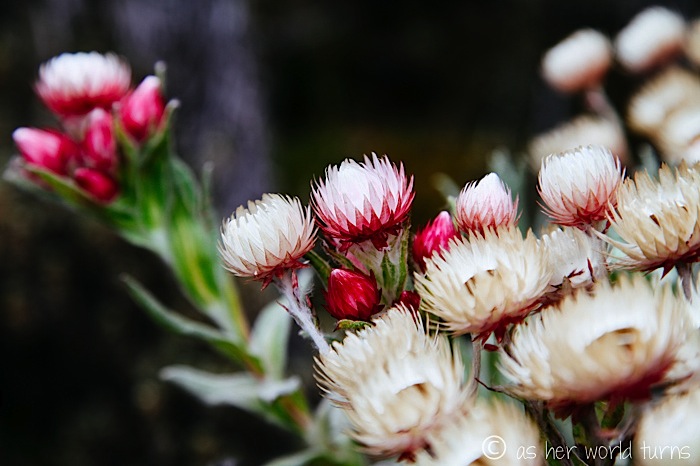
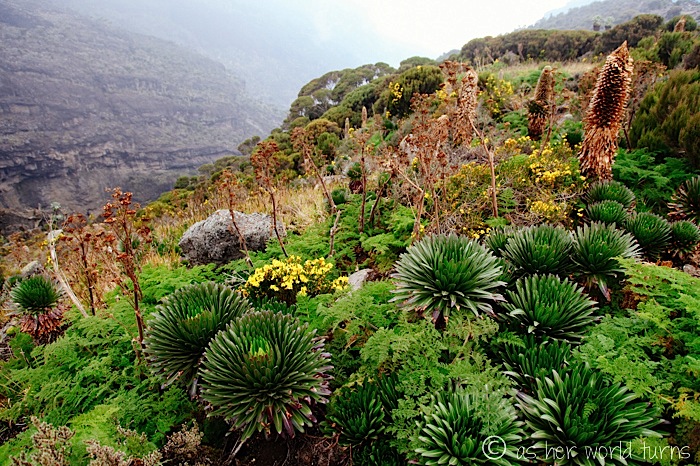
Day 1 is easy. It’s a gentle uphill climb through a jungle / rain forrest climate. There’s fog, lots of greenery, and pretty flowers.
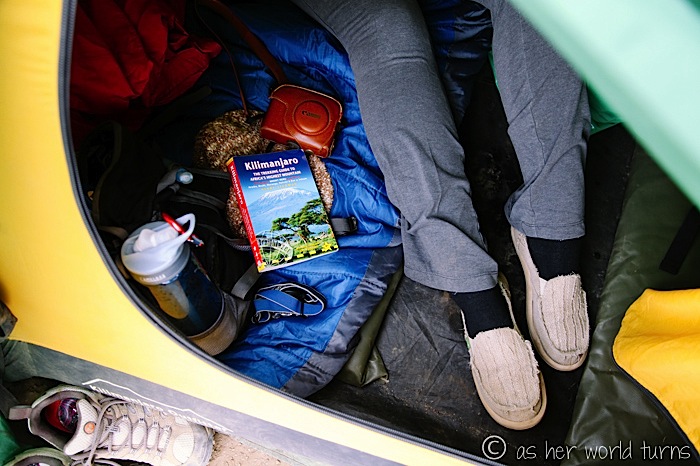
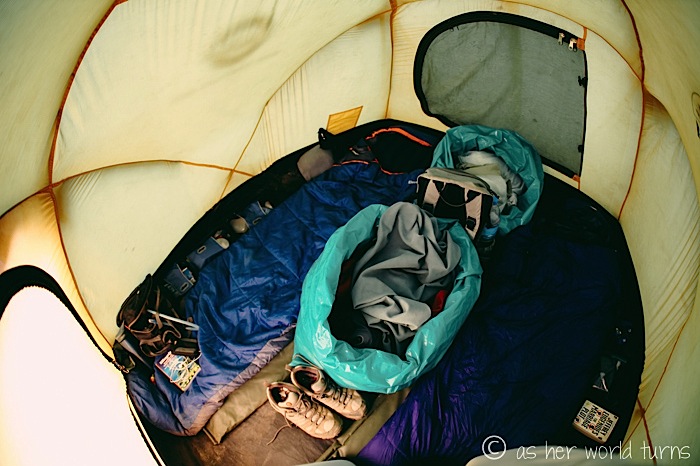
We reach camp just before dinner and settle in for our first night in the tent.
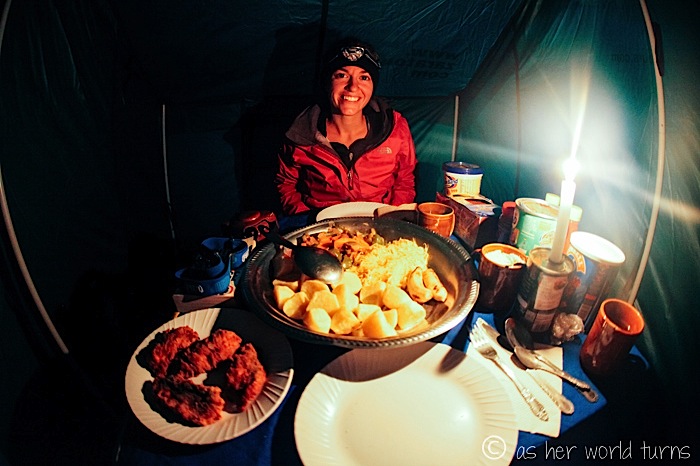
The food on this trip is outstanding — WAY better than I expected. Each meal consists of multiple courses (soup, fruit, bread, etc.) and a main hearty dish. My sister is a vegetarian and she’s quite happy with the food options, too.
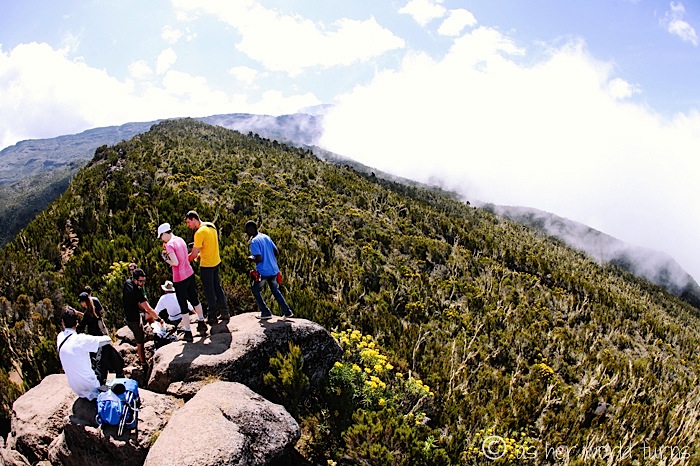
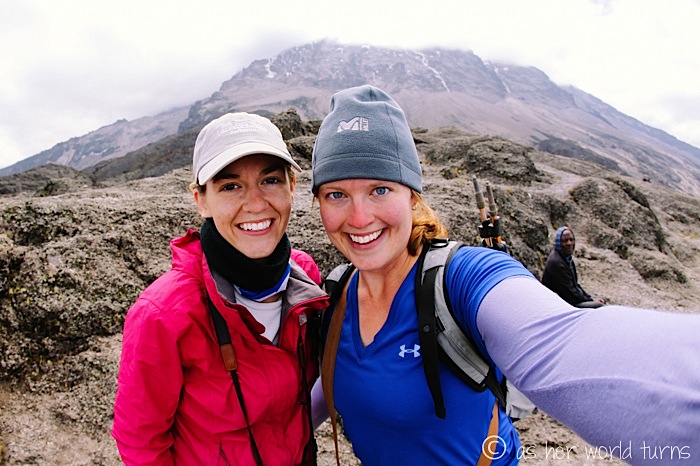
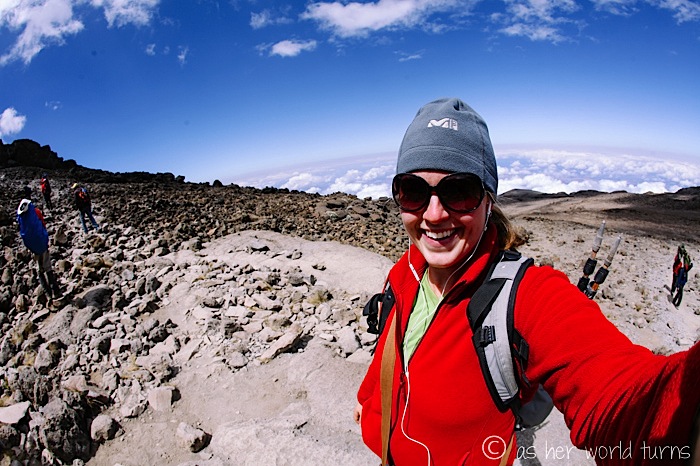
Day 2 is tough. My sister and I split up with our respective guides since she’s trained for this hike (whoops, I didn’t) and taking photos slows me down. We get above the clouds just after leaving camp and it’s a beautiful day. After spending all of Day 1 under a canopy of trees, I appreciate these views.
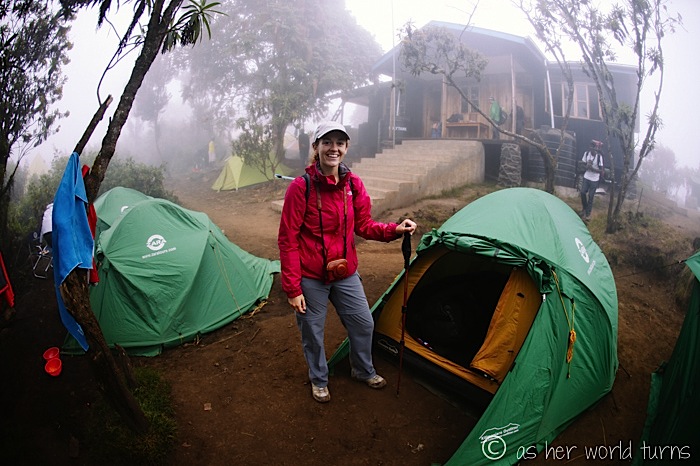
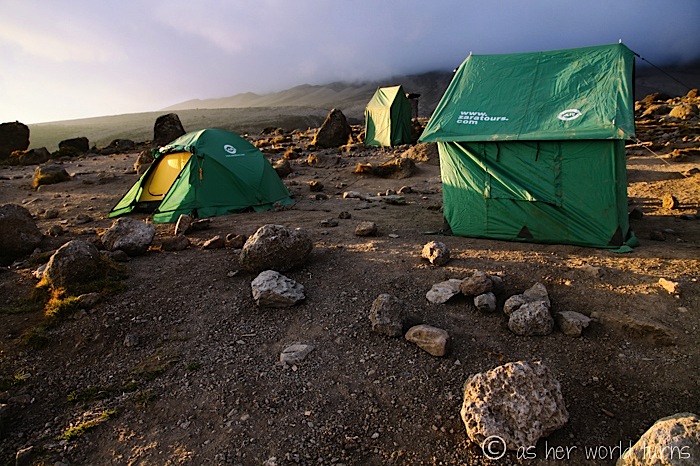
I love our campsite on Day 2 — it’s a simple flat plain overlooking mountain folds and dramatic clouds.
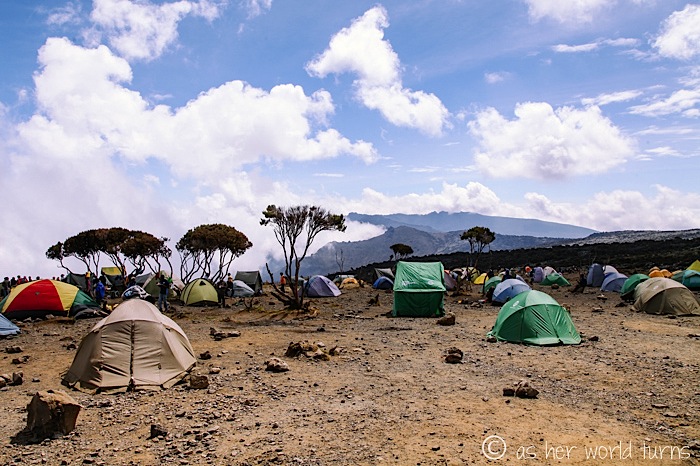
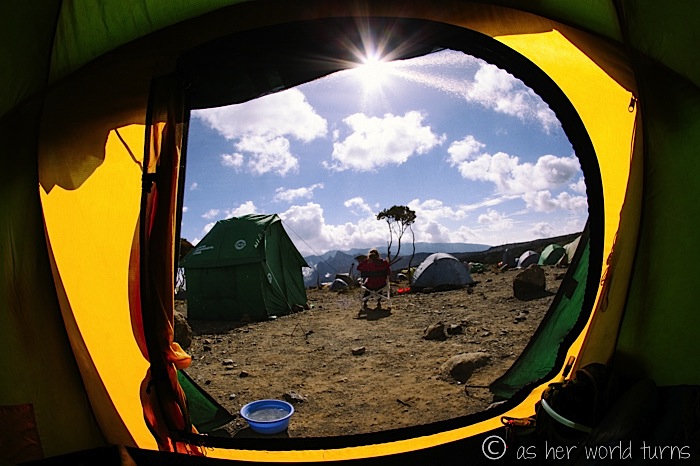
Allow me to introduce you to our three — count them, three — tents. In the foreground is our dining tent, in the middle is our sleeping tent, and in the background at the left is our bathroom tent. That’s right, we have a toilet! This was a surprise as it costs around $100 extra and we didn’t ask for the upgrade, but Zara kindly provided it (they had discounted my trip in exchange for photography and blogging but this toilet was a nice gesture). I can’t imagine our trip without it. Most of the campsites have communal drop toilets that are not in great shape so trekkers often use a bush toilet anyways. But for seven days? We felt really lucky to have this and my sister and I agree it would’ve been well worth the upgrade if we’d known about it in advance. Thanks Zara for helping us out!
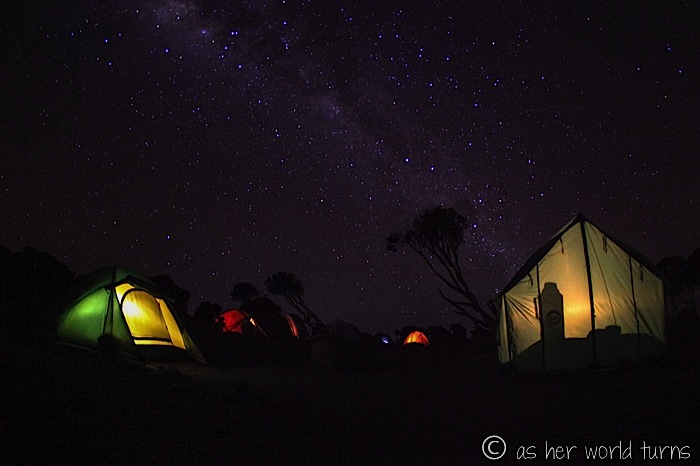
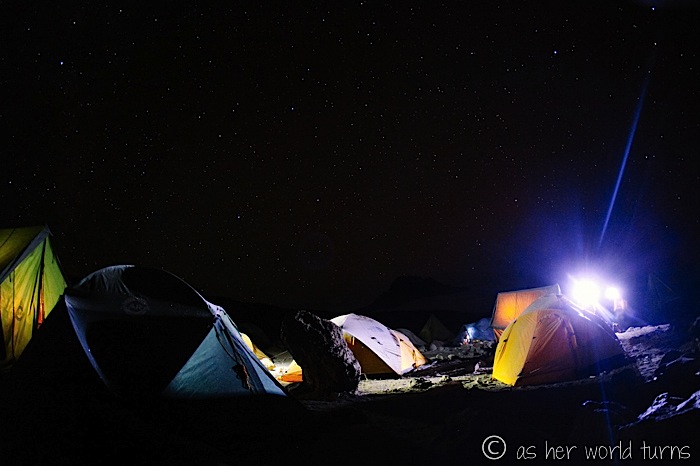
It’s absolutely freezing after dark but I brave the outdoors for some night photography. That’s our dining tent on the right and sleeping tent on the left, under the great Milky Way.
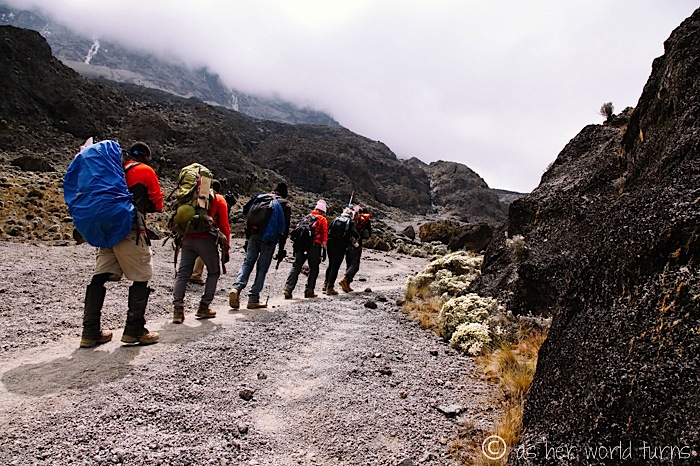
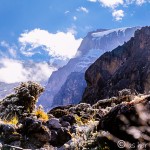
Day 3 is one of my favorite days of the trek and I finally get into my hiking groove. We spend the morning climbing up to Lava Tower.
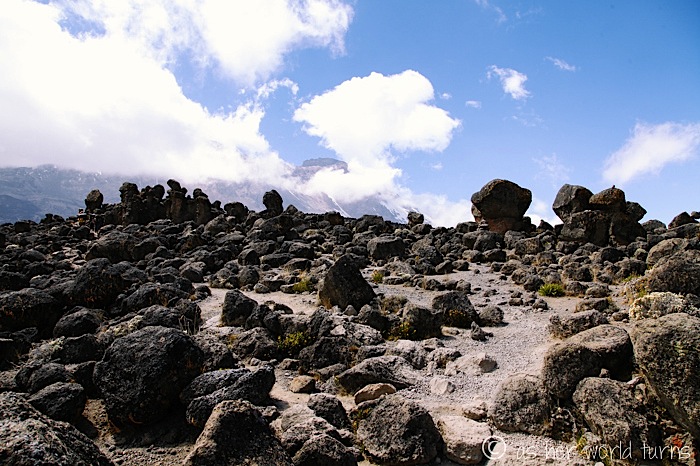
Here’s Lava Tower, where we enjoy lunch before descending in the other direction to our campsite.
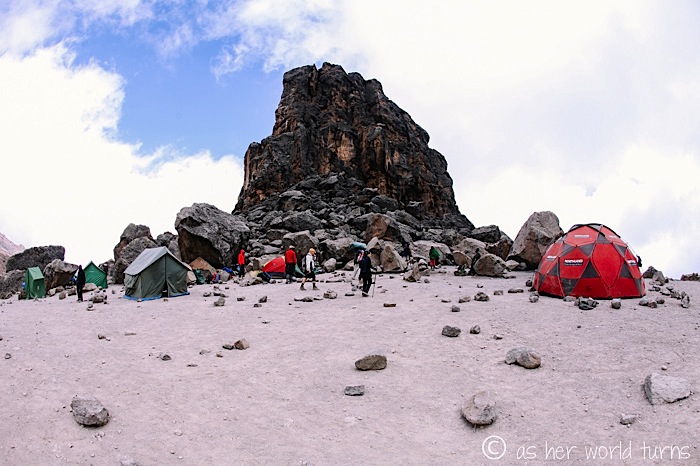
Some days we’re given a pre-made lunch and other days we wait until we get to camp to eat, but today they set up our tent at Lava Tower for a proper lunch.

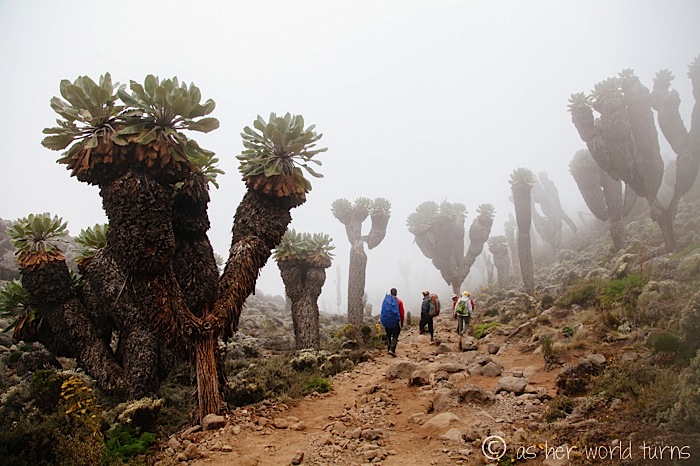
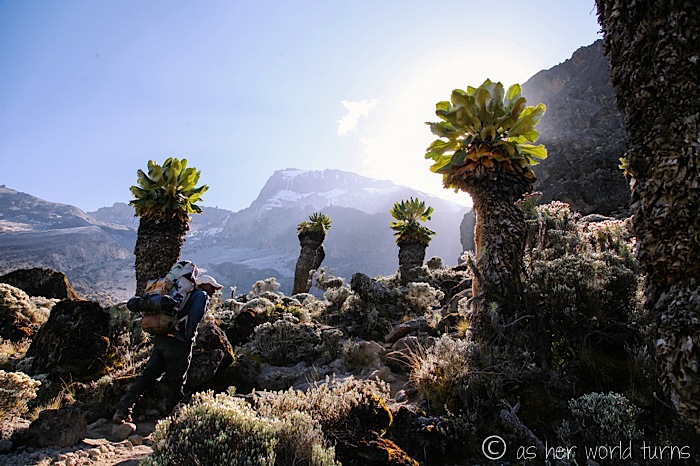
It’s a couple hours downhill and we’re shrouded in fog the whole way. We pass by these giant trees that remind me of the vegetation around Joshua Tree National Park in the States — a little touch of SoCal on Kilimanjaro.
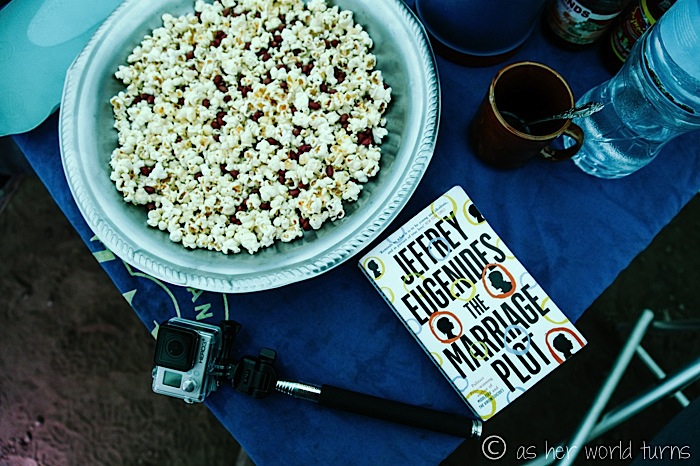
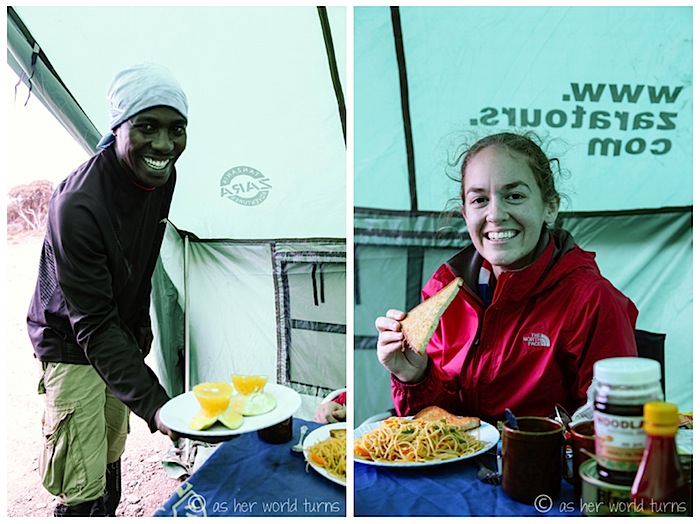
When we reach camp, the chef often prepares a popcorn snack depending on how close we are to dinner.
Fact: I could’ve just eaten this popcorn the entire trek because it’s so buttery and sometimes they toss in peanuts.
Thomas delivers tasty oranges and Beth eats a pasta veggie dish:
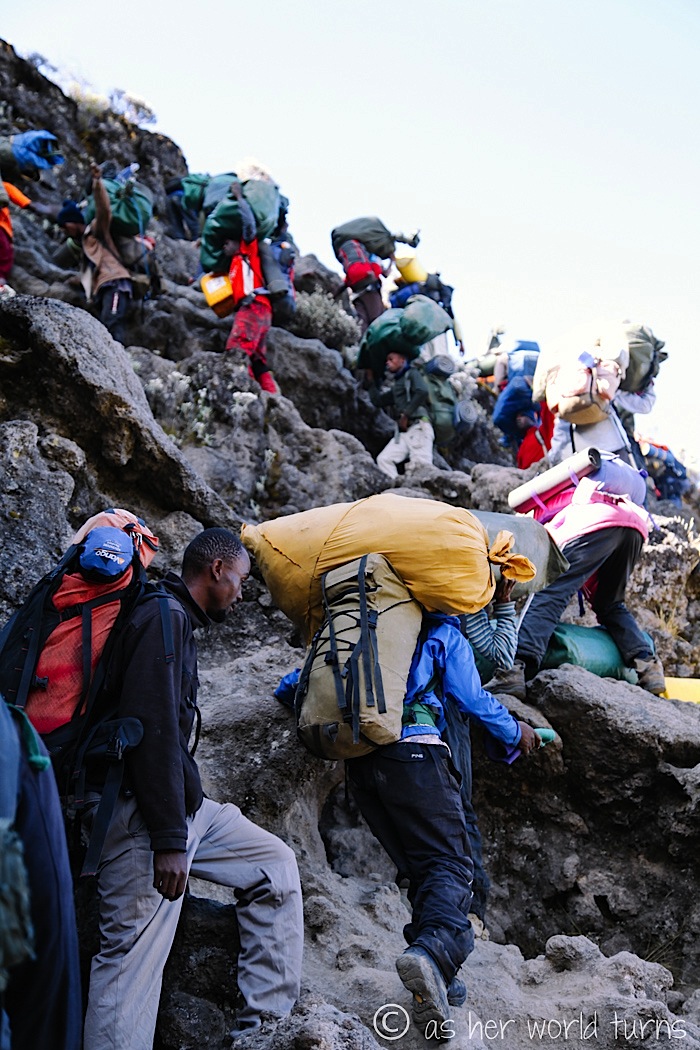
We face a big challenge at the start of Day 4: climbing up the Baranco Wall. There are steep switchbacks and we have to climb over boulders with very little margin of error — one false step and we’ll fall off the cliff. It’s not too bad for me but my sister has a fear of heights so this is the roughest part of the trek for her aside from the summit day.
A group of fellow trekkers celebrates a successful climb up the Baranco Wall.
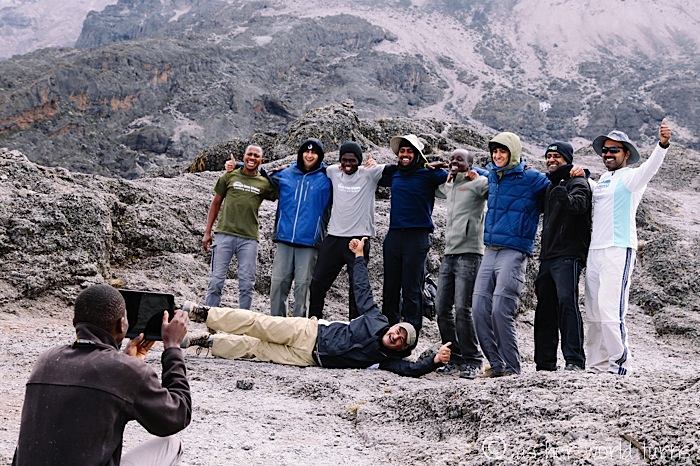
I celebrate by posing for jumping photos:

We get to camp by lunchtime on Day 4 and relax in our tent.
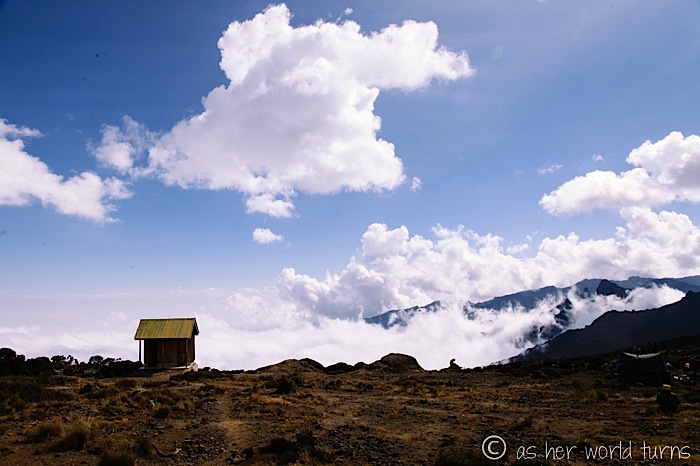
When the clouds clear, we will have a beautiful view of the Kilimanjaro summit from this campsite, but for now it’s all fogged over.
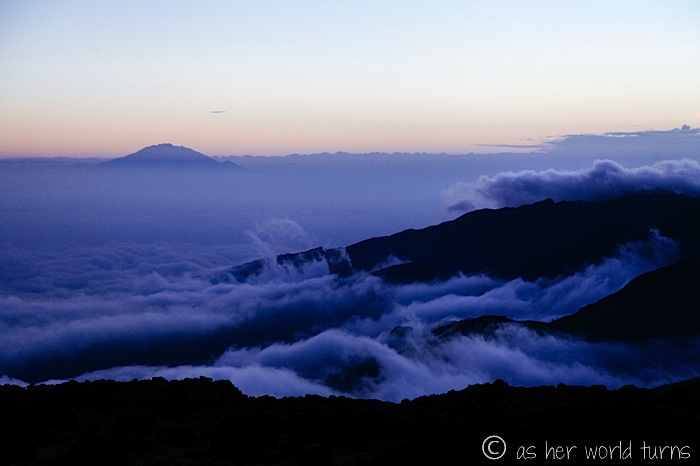
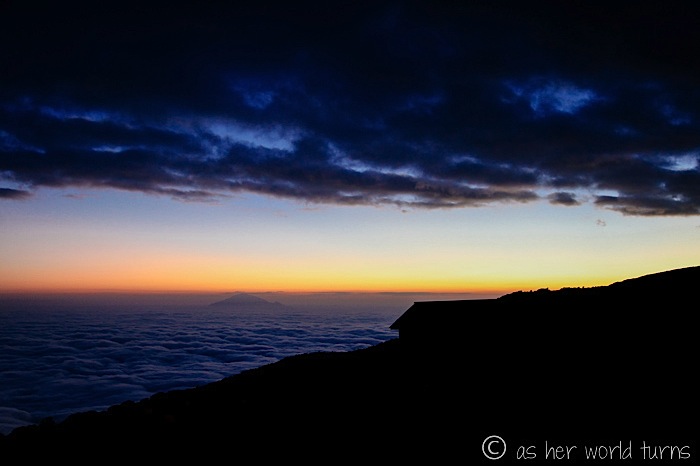
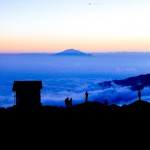
And there are outstanding views of the cloud cover below. The clouds disappear after sunset and we can even see Moshi in the distance.
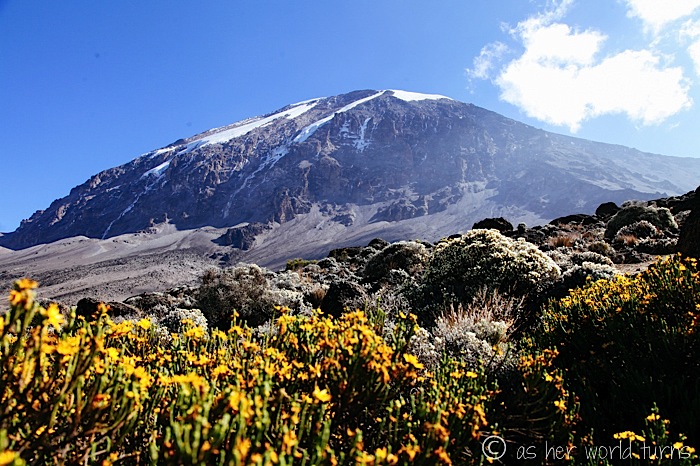
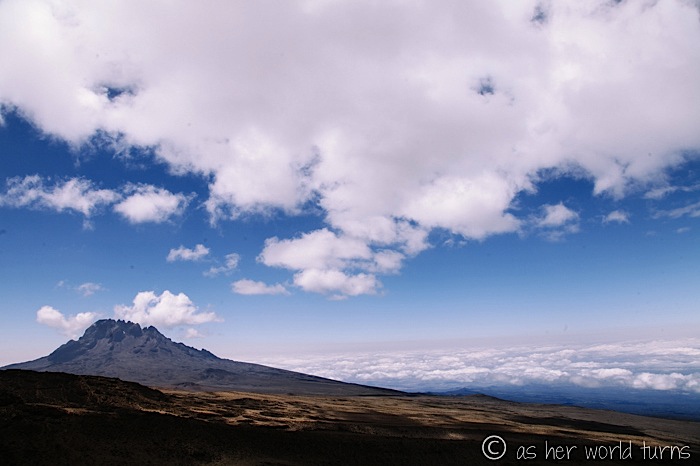
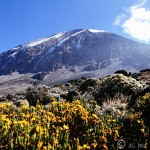
Day 5 is our easiest day as we prepare for our midnight summit climb. During the 3 hour morning hike to Base Camp, we have clear views of Kilimanjaro.
We get to Base Camp around noon, eat lunch, and then take a sleeping pill to rest from 2-5pm. We wake up for dinner and a briefing before going back to sleep from 8-11pm… although I unfortunately stay awake through the second nap, tossing and turning and looking at the time on my iPhone.
Our goal is to leave by 11:30pm but it’s ten to midnight when we start hiking. Here’s a final shot of camp:
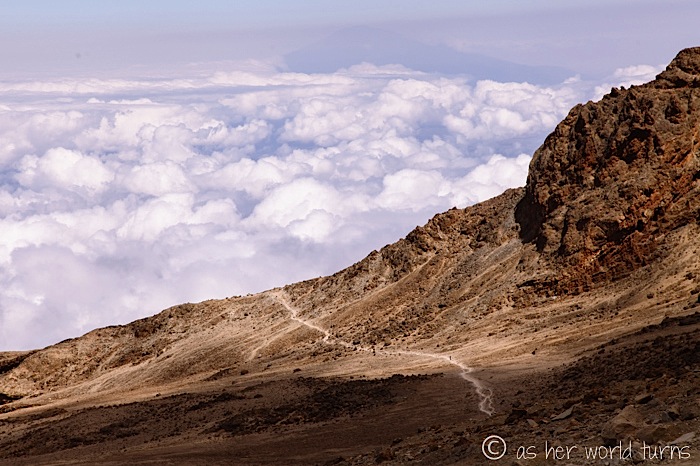
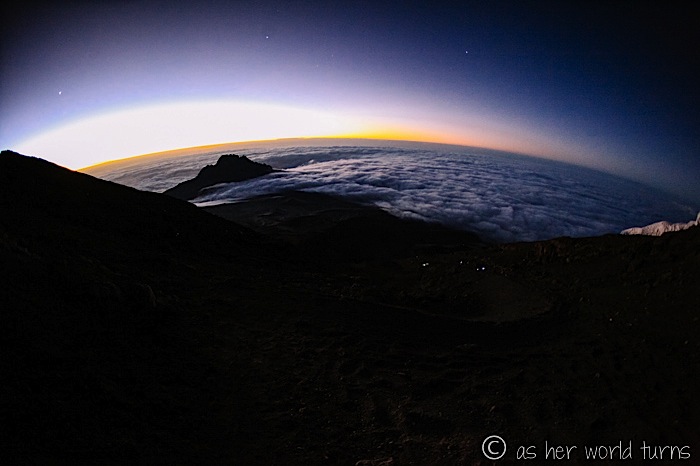
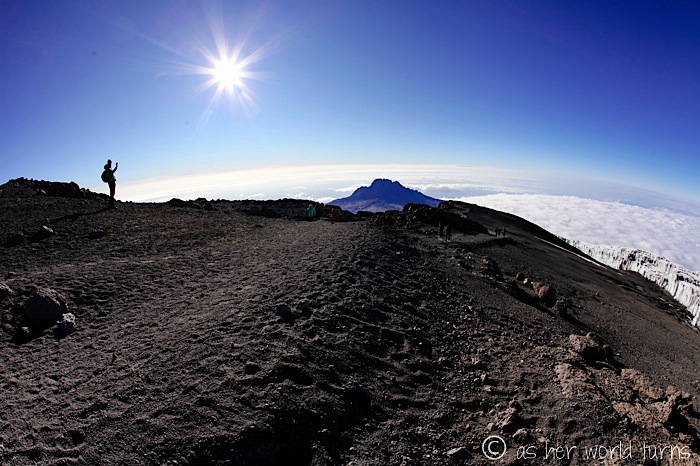
We spend the next several hours trudging forward in freezing cold darkness. For the most part, my camera stays inside my backpack, but I turn around to capture this shot during a quick rest stop. (Those are the headlamps of other hikers below us.) I wish I could say we enjoyed this view the whole time, but our backs are turned this direction as we focus intently on putting one foot in front of the other and will our blood to circulate through our numb extremities. Our water bottles become frozen. It’s rough.

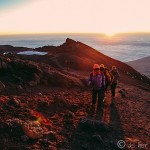
After 6+ hours of hiking in the dark, the horizon grows lighter and I’m relieved to know the sun’s warmth is on its way. By now my brain has gone fuzzy and I’m in a meditative state just trying to move forward and not pass out.
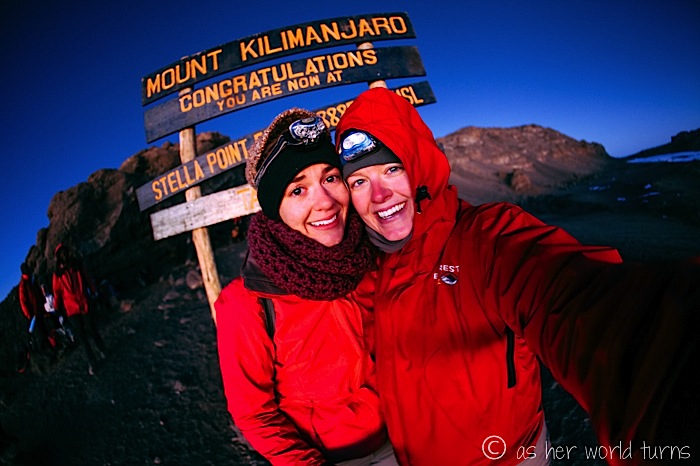
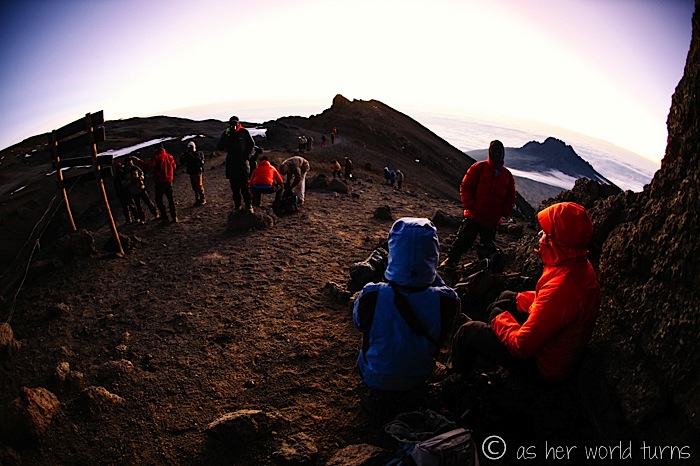
Around 6:15am we make it to Stella Point. This is a major milestone — from here it’s an easy 45-minute hike to the summit. My sister and I hug and cry, knowing that we’ve essentially made it. The worst is over.
After enjoying a cup of hot tea — seriously, THANK GOD for the porter who carried that uphill — we press on towards the summit.
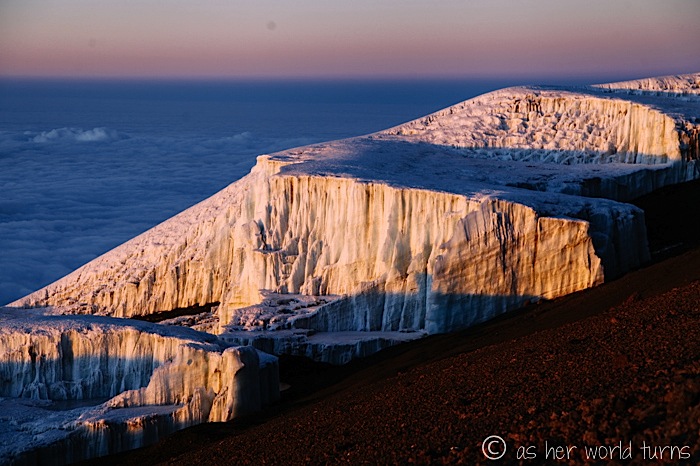
We pass several expansive fields of icebergs and I get a second wind to take out my camera for photos. Until now I’ve taken so few because every movement is exhausting at this altitude.
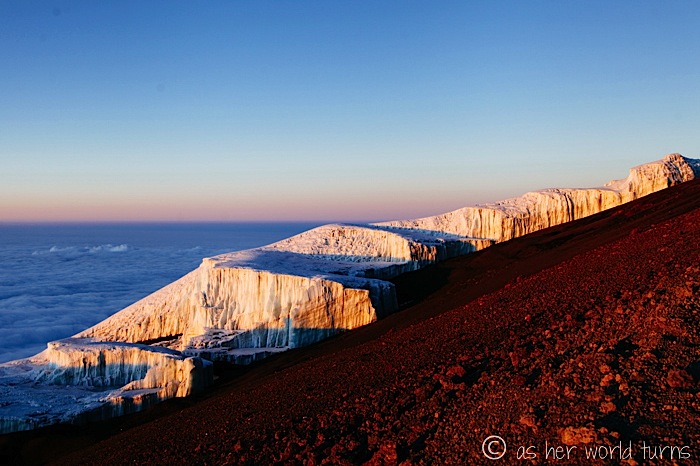
A closer look:
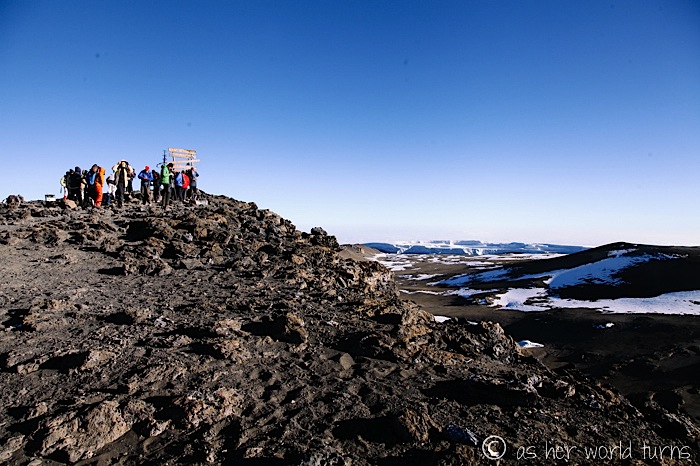
I spy the summit…! We’re almost at 19,340 feet in elevation.
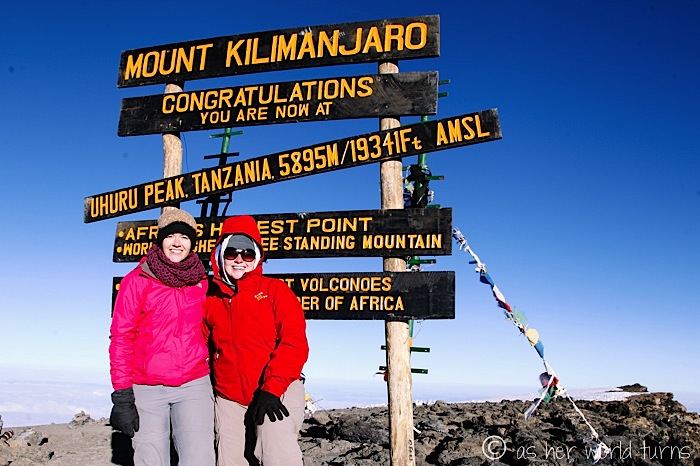
WE DID IT…!!!
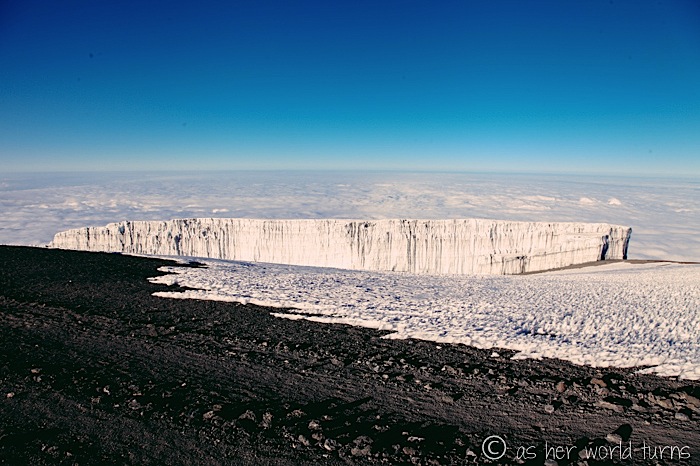
One more shot of the ice field as we depart the summit:
And now for the painful route back down… until now my feet and knees have held up well, but we’re about to get slammed with ten hours of downhill hiking over the next 24 hours and my body will pay the price. But I haven’t thought that far ahead yet. I spend a few final moments soaking up the summit glory and these spectacular views:
Summiting Kilimanjaro is the hardest thing I’ve ever done — harder than climbing to Mt. Everest Base Camp, harder than running marathons, and harder than telling Emmy-winning actors that their favorite lines have just been cut. But the exuberant feeling of reaching the top was worth it.
Many thanks to Zara Tours for discounting my trip in exchange for photography services and blog coverage. Opinions are my own.

I got chills reading this. You guys are so inspiring!!!
Thank you Kelley — for your kind comment and for ‘carrying’ me to the summit when I most needed the support! Love you!!
This is so beautiful I teared up by the end. Congratulations!! You guys should be so proud.
Thank you, Erica! We are indeed proud. It’s hard to picture something trumping this accomplishment for a long while. Thanks for the kind words!
Lets do it again!
Ha, ask me when I forget how freezing cold it was up there!
I thoroughly enjoyed reading this post just now and seeing all of the beautiful photography. I myself arrive in Moshi, Tanzania in two weeks from now to climb Kilimanjaro with Zara Tours via the Lemosho Route (which connects with Machame about halfway up). So I enjoyed seeing what I have to look forward to. I found your blog today via a Facebook post by Zara Tanzania Adventures about your Kili climb. It’s been amazing and inspiring to read about your adventures around the world. And your photos are awesome. You’re a gifted photographer. Safe travels!
Hi Bryan! Thanks for the comment and kind words! Very cool that you’ll be taking on Kili — the Lemosho Route looks beautiful. Have a blast and safe travels to you, too!
This was great! I climbed Kilimanjaro with Zara in February and loved every second of it! So glad you posted these beautiful photos, so I could re-live those beautiful views for a short moment!!!
Thanks for your kind words, Sammi! So glad you had an awesome Kili climb, too. What a memorable and mind-blowing experience, right?!
Hi Erica,
great report on your climb! I was on Kili myself last year, and this year at EBC and totally agree with you that Kili is much harder (but only due to the summit bid at the end of the trek). I’ve taken the Lemosho route, but Baranco and Caranga Camps are the same. We did go straight from Baranco to Caranga, and you are right. Its friggin exhausting! Especially since we only had 4 hours to nap, and same as you I spent those checking the time 😀 Congrats to you and your sister! And great fotos! BTW: Bruce saved my life when I was pucking my guts out on Day 2, so I totally love him!!! 😀
Thanks for your kind words, Linda! Very cool that you’ve done EBC too — feels pretty good to cross of that and Kili, right?! Exhausting but so worth it. And Bruce is the best! My sister and I feel so lucky we got him to guide our trip!
I love your blog! I am heading to Kilimanjaro next month and reading your posts has helped me plan. What type of camera did you use? Did you have any issues with battery life or the camera not working due to the cold?
Thanks!
Hi there! Thanks for the kind words. I brought a DSLR camera with me, plus two lenses. That was heavy but non-negotiable as taking high quality photos is really important to me, so I carried the extra weight. (But if you can get away with a smaller camera, do it!) I also had a GoPro. Each night, I put the GoPro and my DSLR batteries (I brought two) in the bottom of my sleeping bag to keep them warm during the night. That helped extend the battery life and I had no problem with them; the batteries did not run out. Good luck on your trek!!